
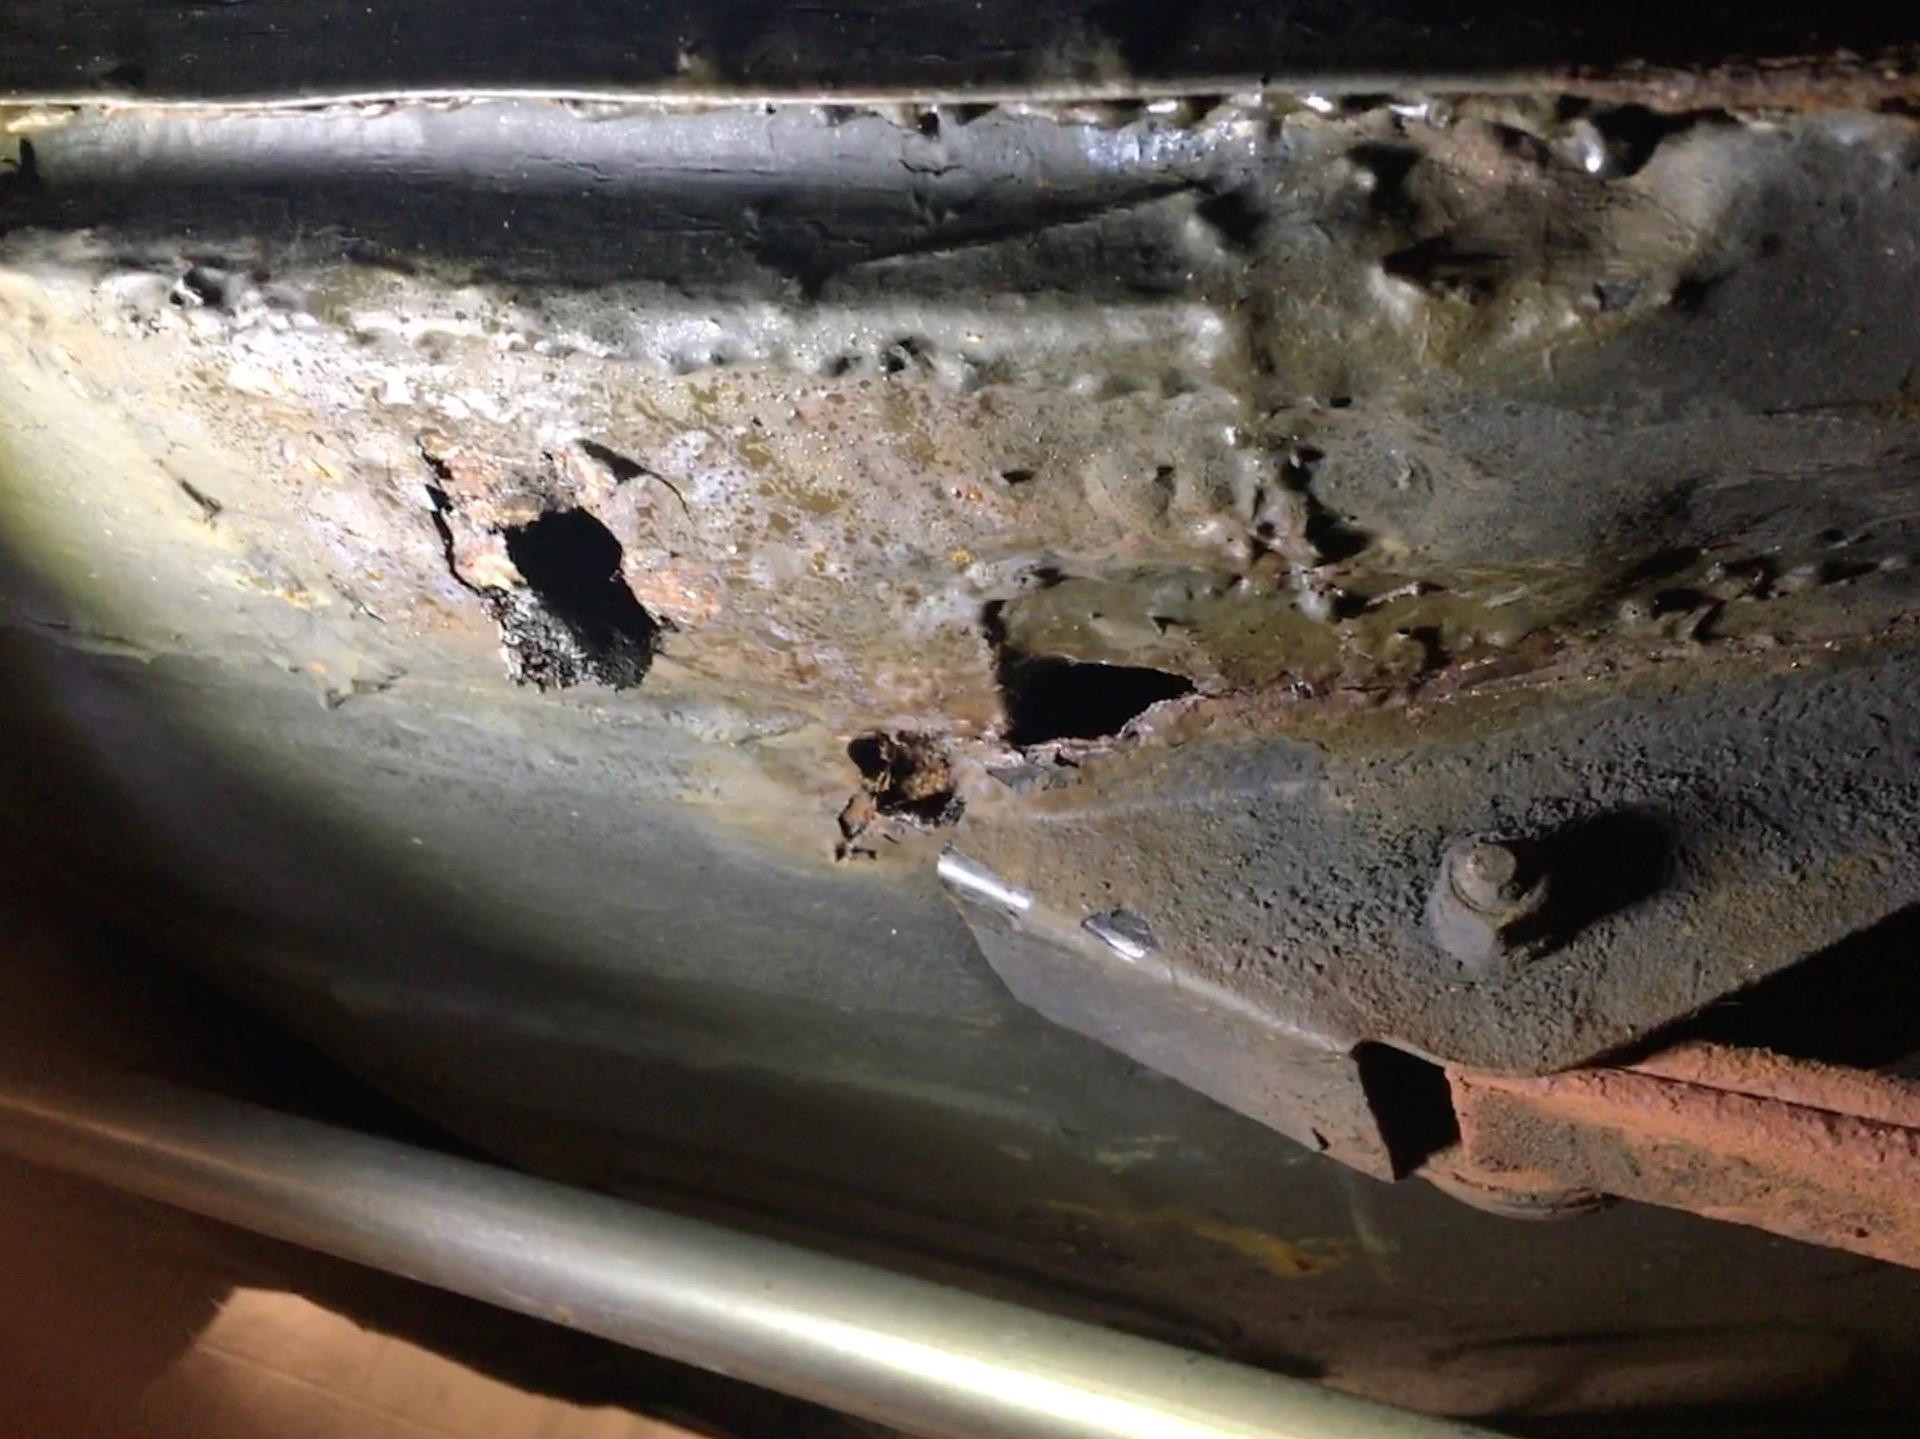
On the way to work on 21st November 2018, about 2 miles from where I park, the car started spluttering badly and the lip of the exhaust sheered completely at the manifold clamp, giving me the characteristic sound you get when your exhaust falls off – a sound I have come to know.
Not long afterwards, on an A-road with no real hardshoulder, there was a bit of a bang and the engine completely cut out. I could start the engine again, but if I so much as touched the accelerator pedal the engine would abruptly splutter and die.
I was so close to work, and I knew what the RAC would say without even ringing them. By this point I’m a regular, so I knew I’d get the usual “We have unusually high demand at the moment, can we book you in for recovery at another time?”, so I dumped the car at the side of the road in as best a place as I could and used some nearby traffic cones with lights to try and make it stand-out in the dark.
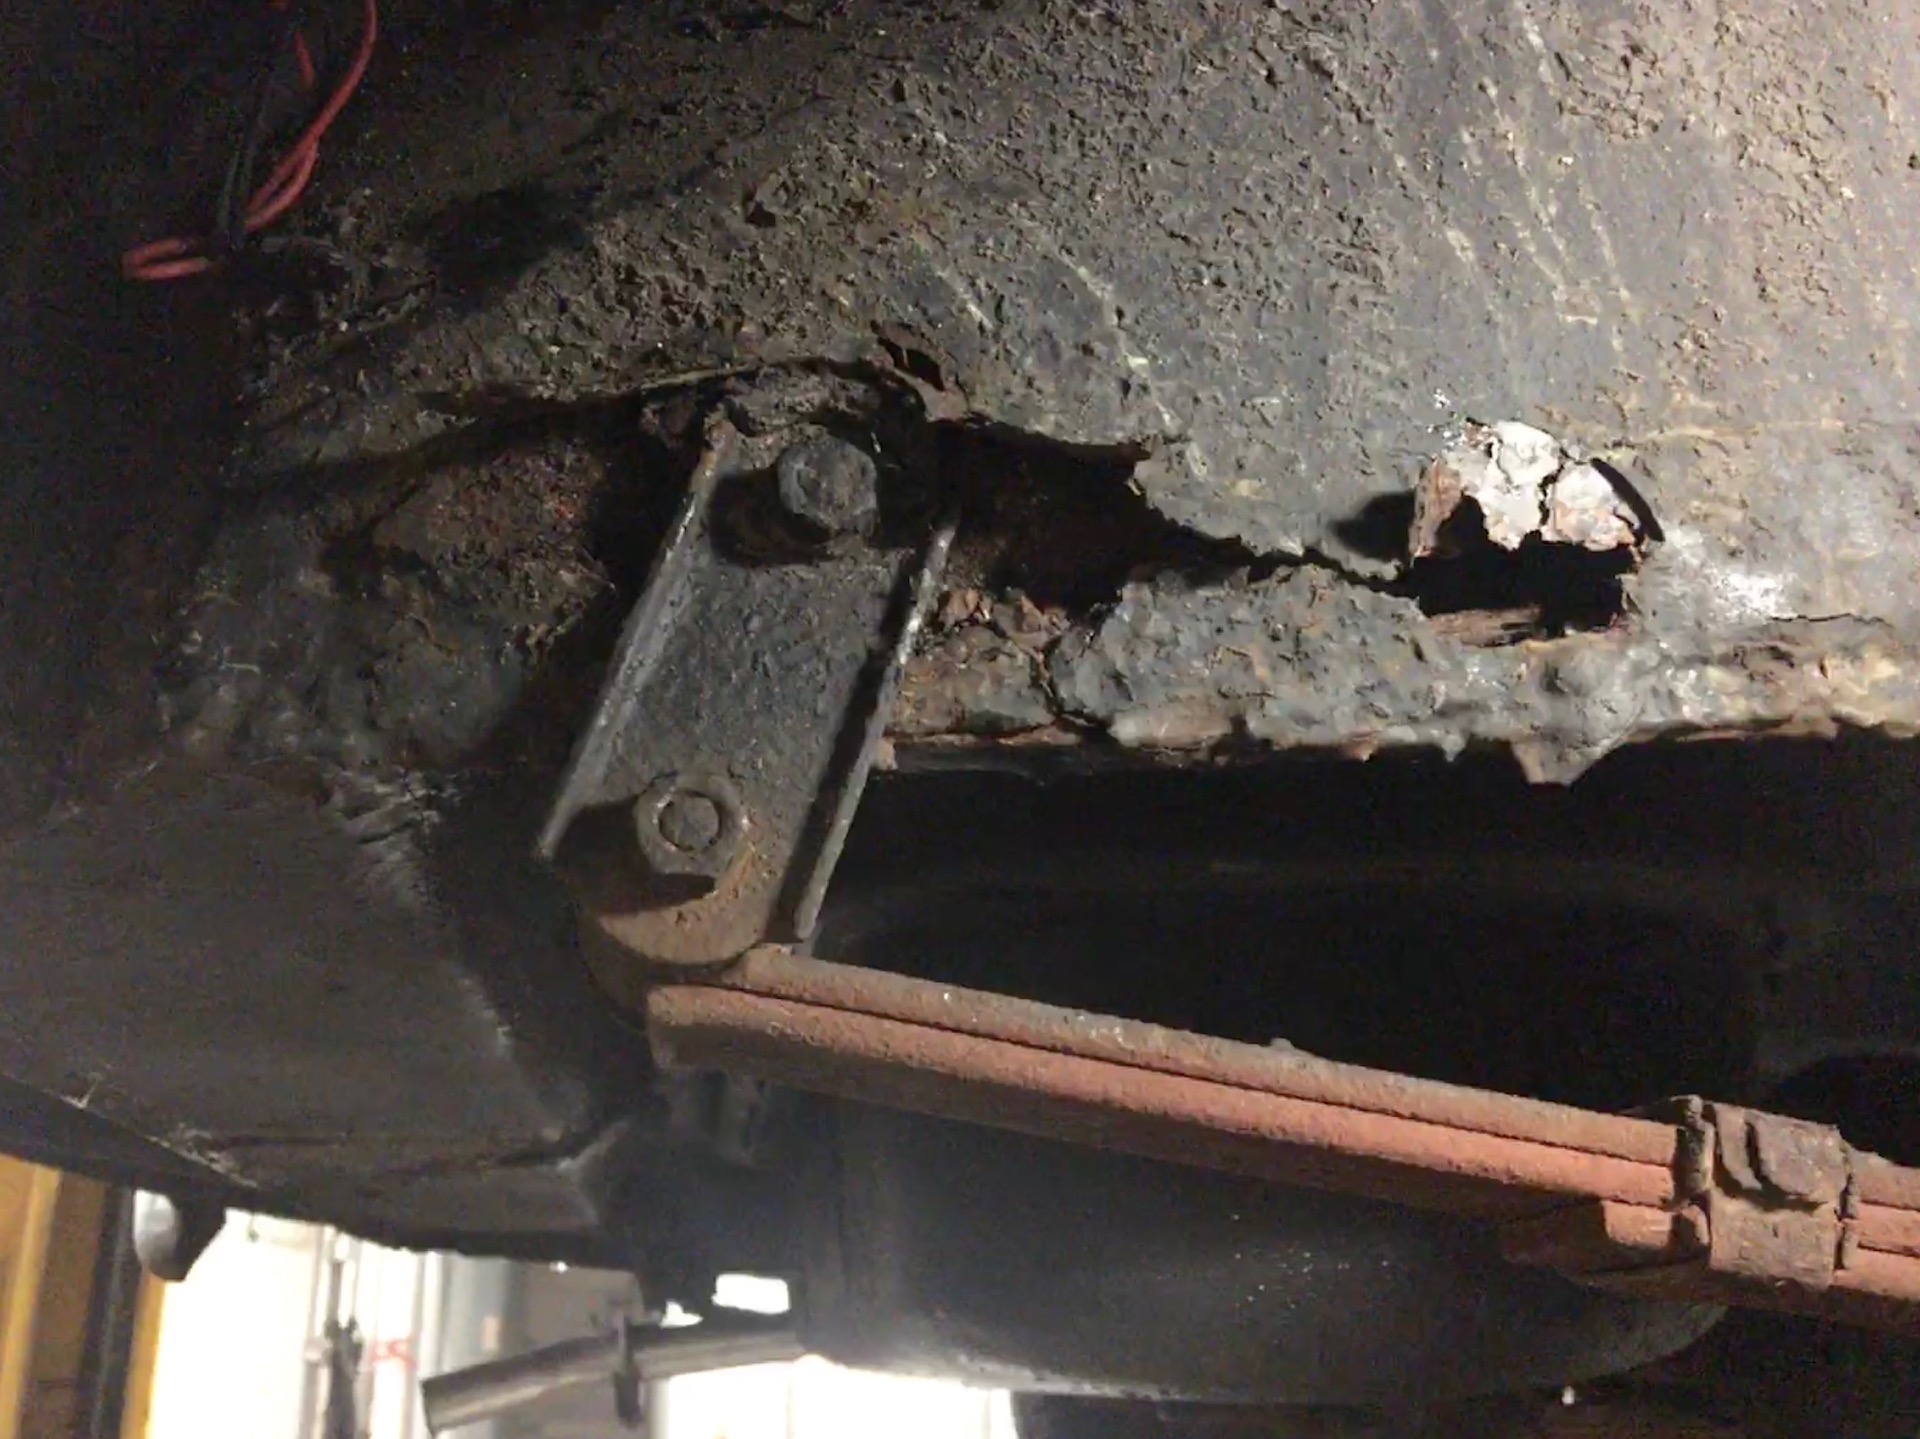
During my shift I called the recovery service and explained where I was and what the issue was, and then booked recovery for around the time I finishing – Of course, being the RAC they have to follow their own procedures – I knew the car wouldn’t be drivable, but they wasted a bit of time by sending a mechanic to come and have a look before booking me the recovery truck I had initially requested. eventually I got the car home, where it remained for the rest of the year until I could find the time to work on it.

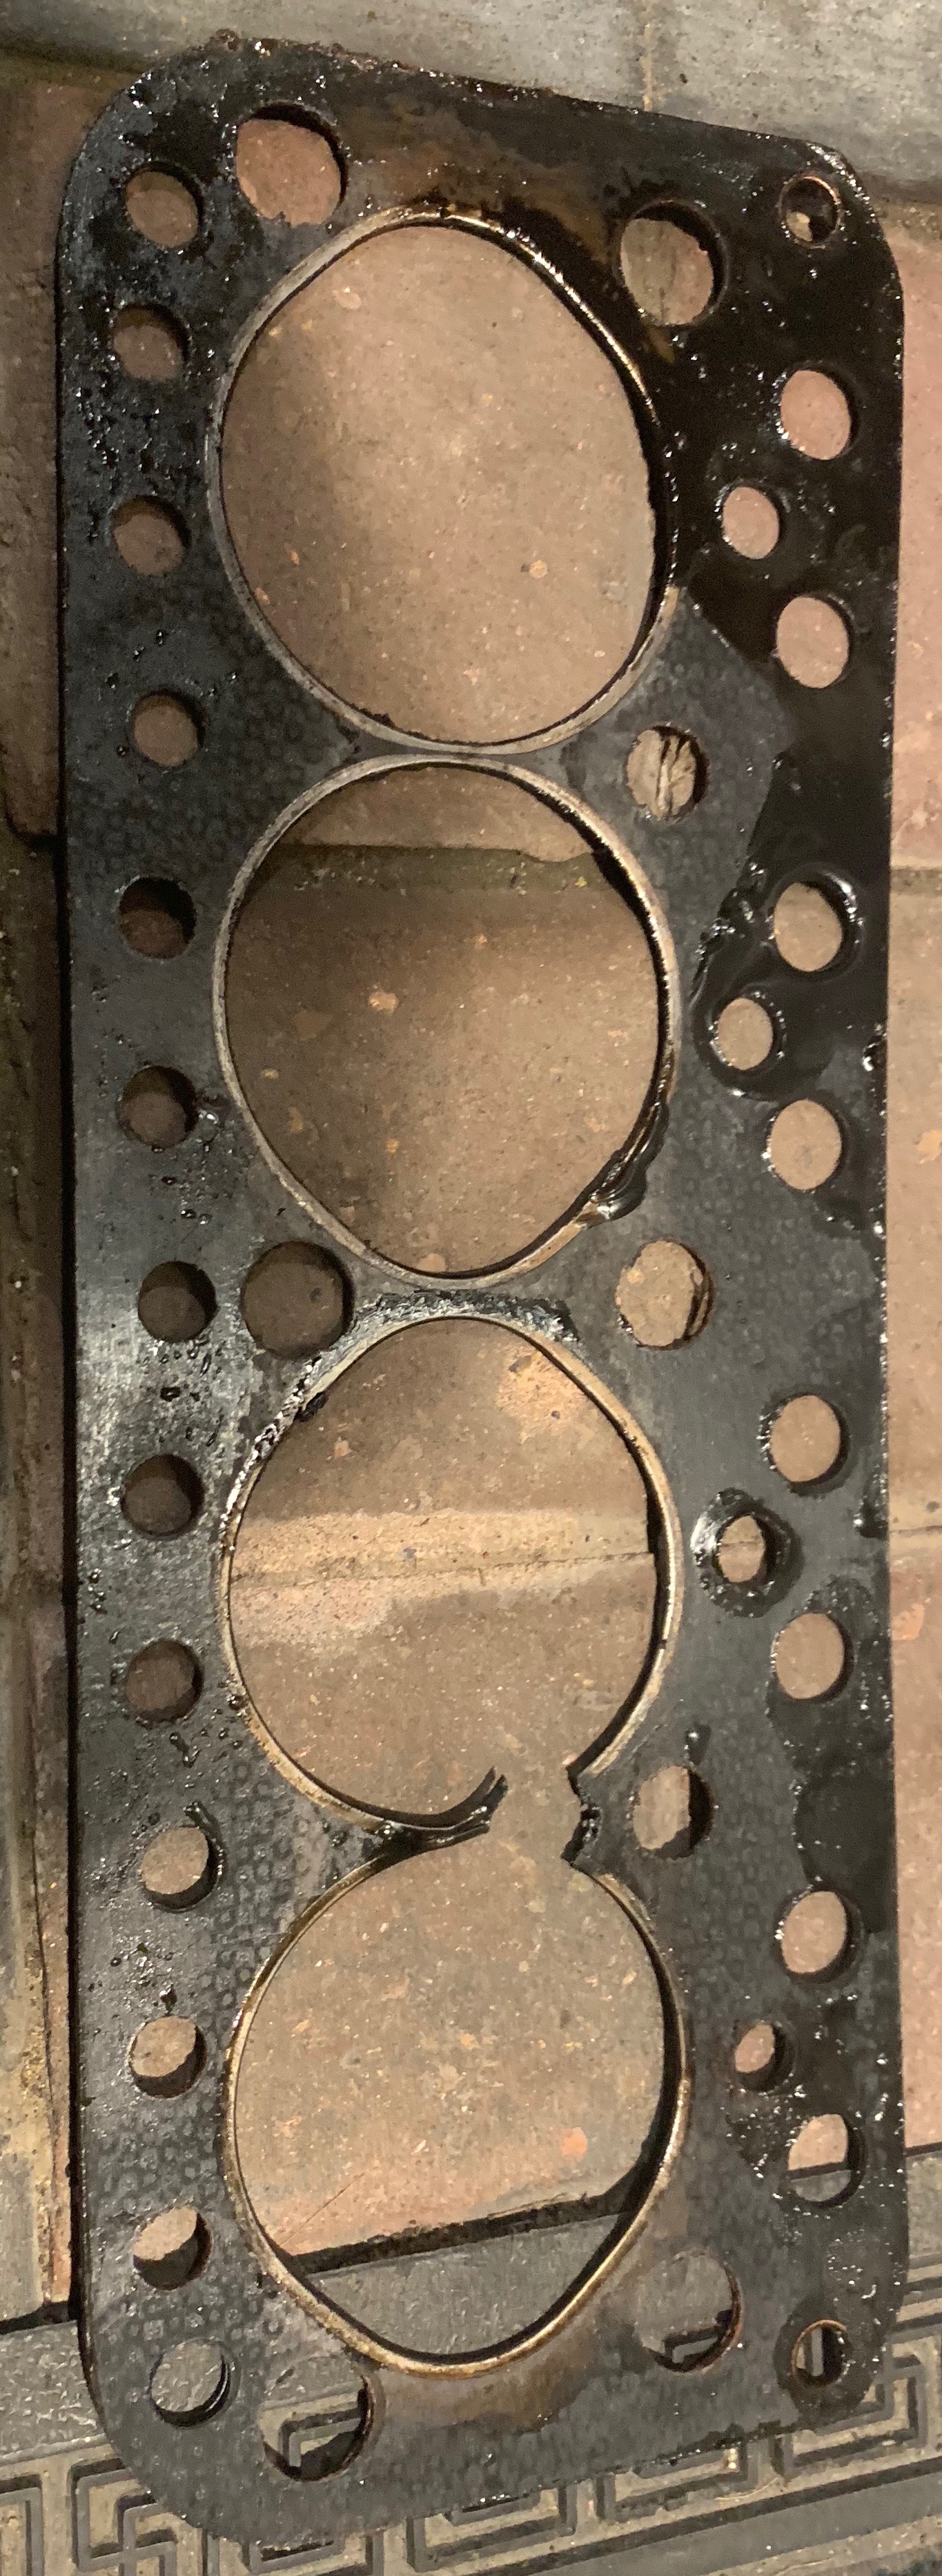
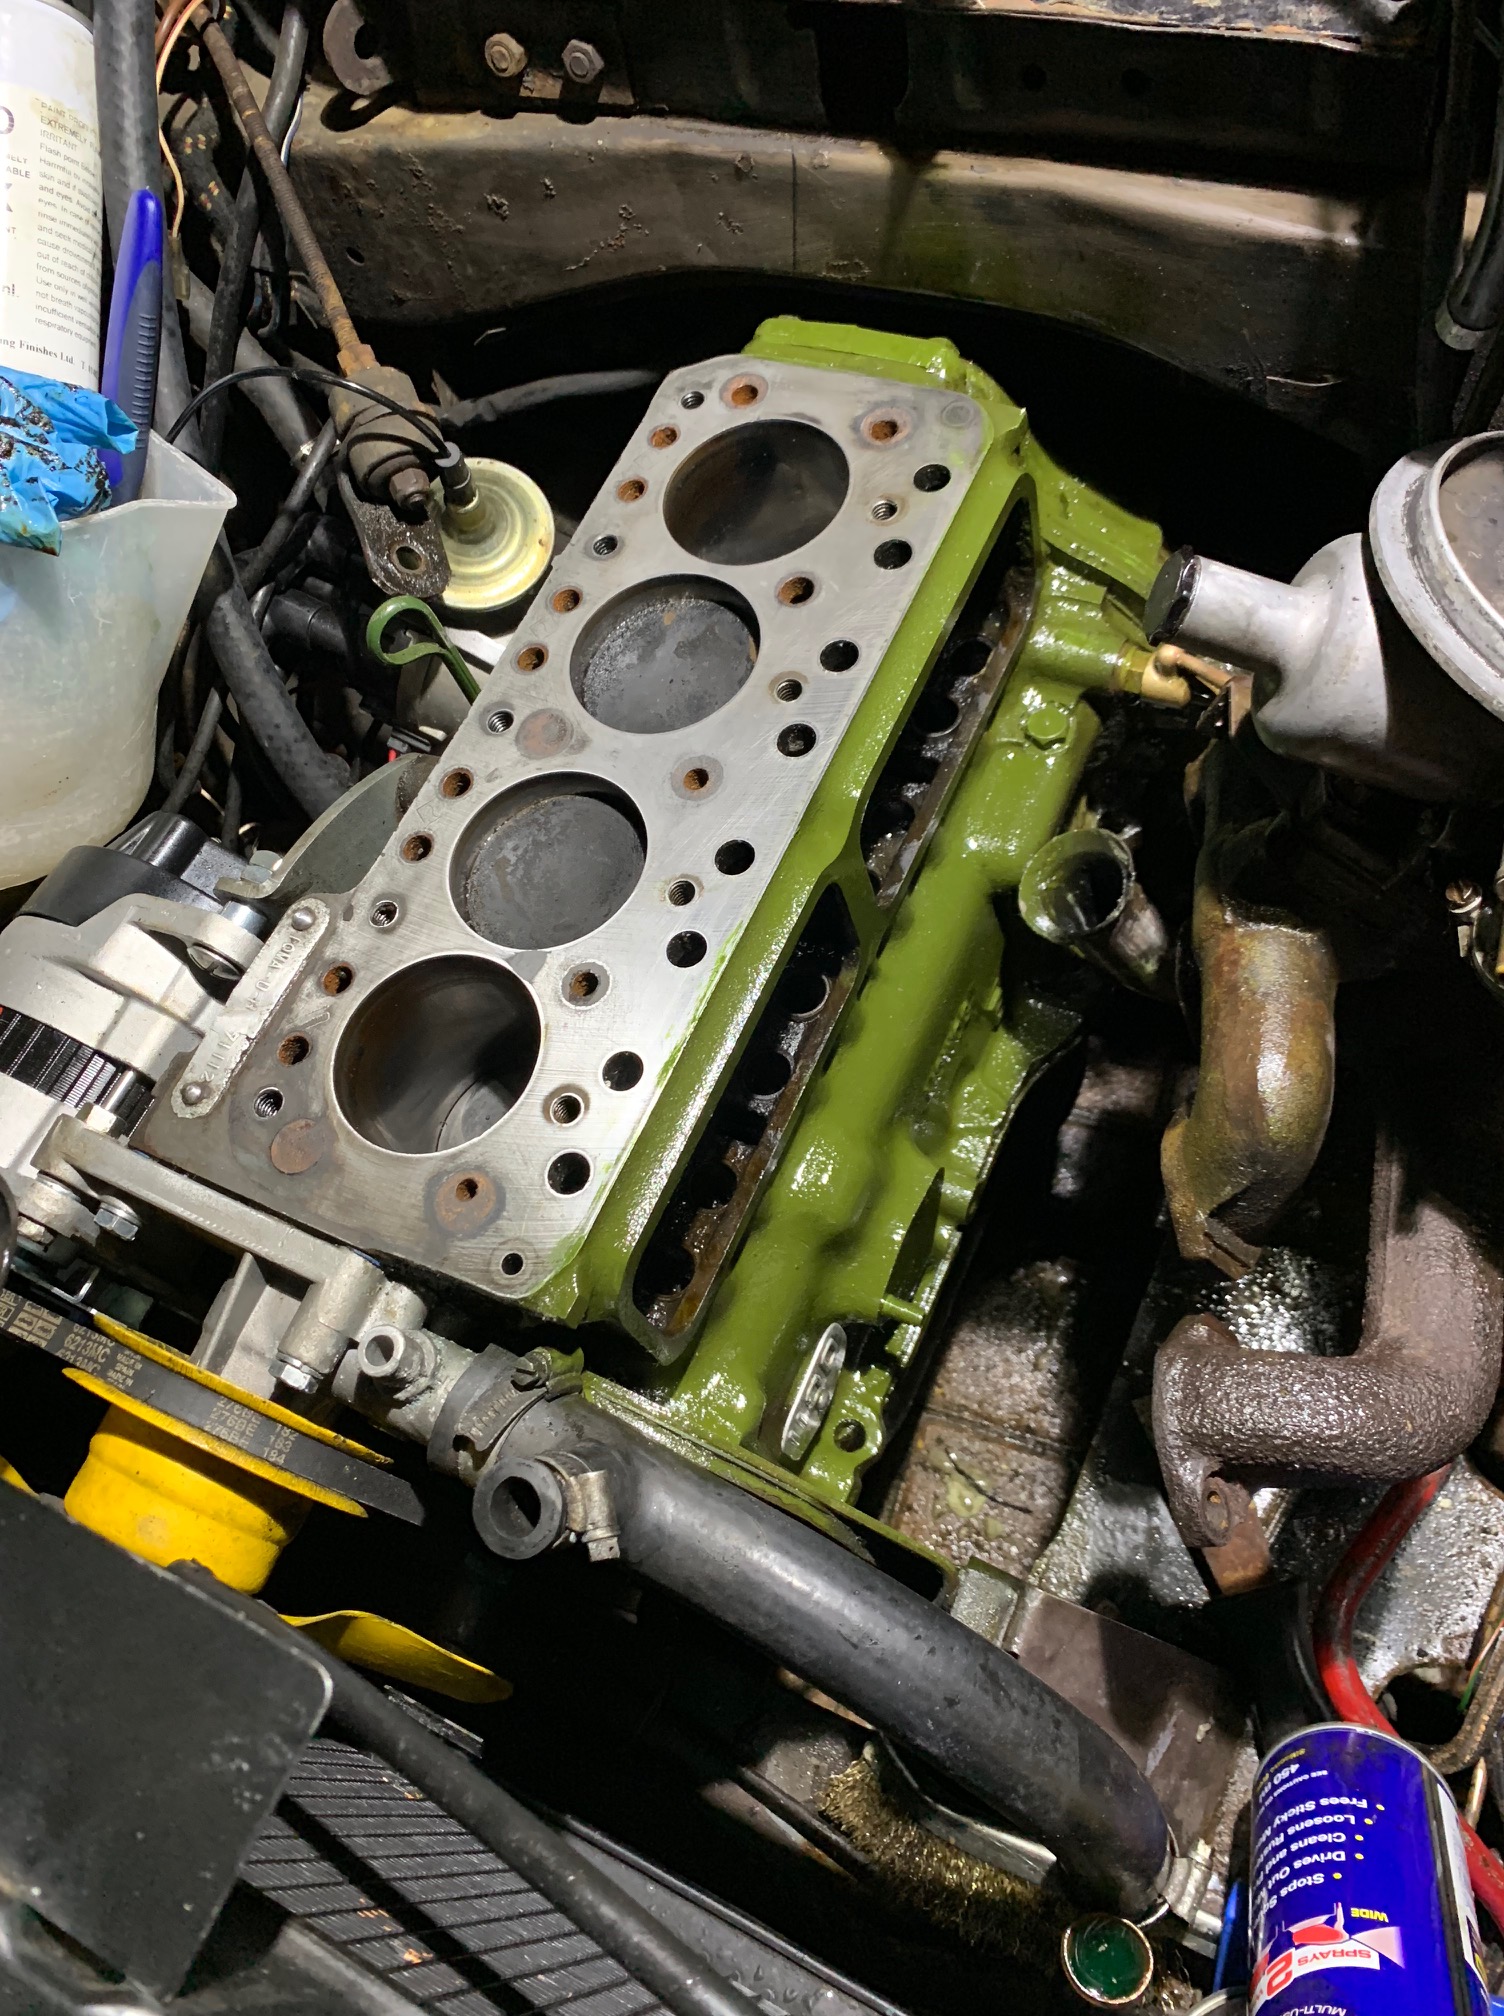
Eventually I got around to it, and upon further inspection I found that the head gasket had blown between cylinders 1 and 2.
Up until this point in Morris ownership, I’d never attempted to do much with the engine, and I’d certainly not considered removing the head myself – usually I’d ship it off to a garage for something like this, but I was feeling like a bit of a cheapskate at the time so and figured It’d be good to try and learn how to do this job, as It probably won’t be the only time it needs doing in the long-term.
This is probably the most technical I’ve got so far, aside from replacing the wiring loom a while back, so replacing the head felt like quite an achievement for me!
Seeing as the head needed to come off anyway, I saw the opportunity to upgrade the engine slightly, by swapping the existing head for a refurbished head with hardened valve seats, which makes it more suitable for running the car on unleaded fuels, which were not developed at the time the car was built.
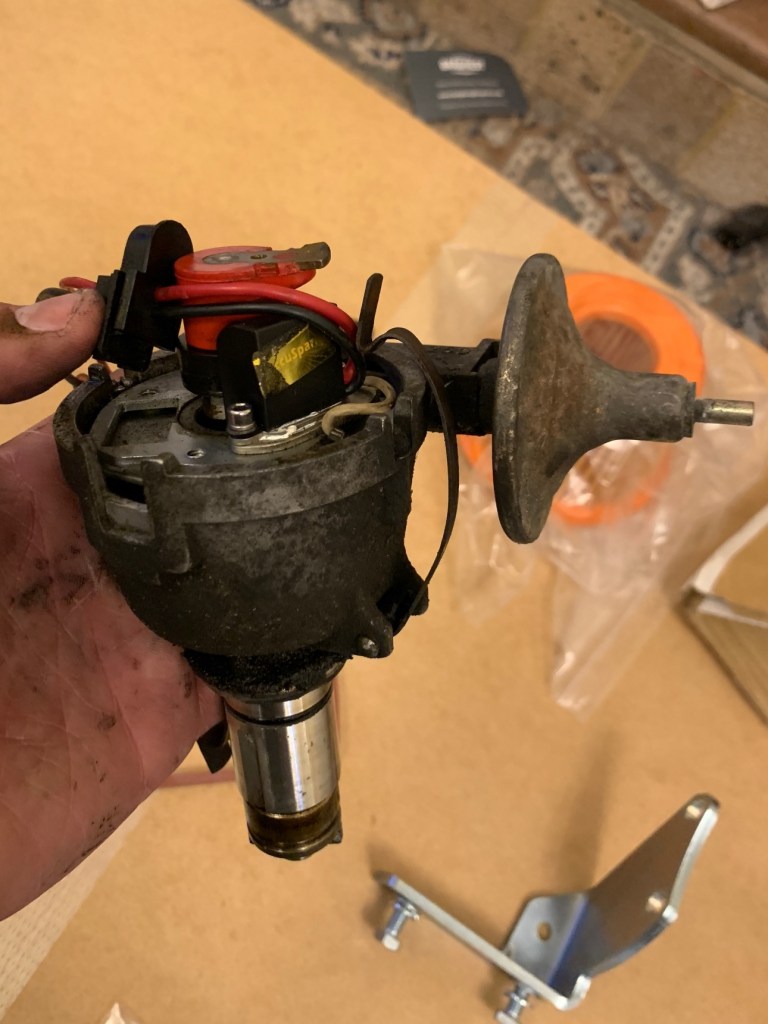
Removing the head was easy once all the ancillaries were removed. It’s just a case of removing the rocker cover, gradually removing the nuts that hold the rocker assembly in place (be careful to release them in increments, so not to put any part of the assembly under too much stress) and following the pattern you would whilst torquing the head bolts!
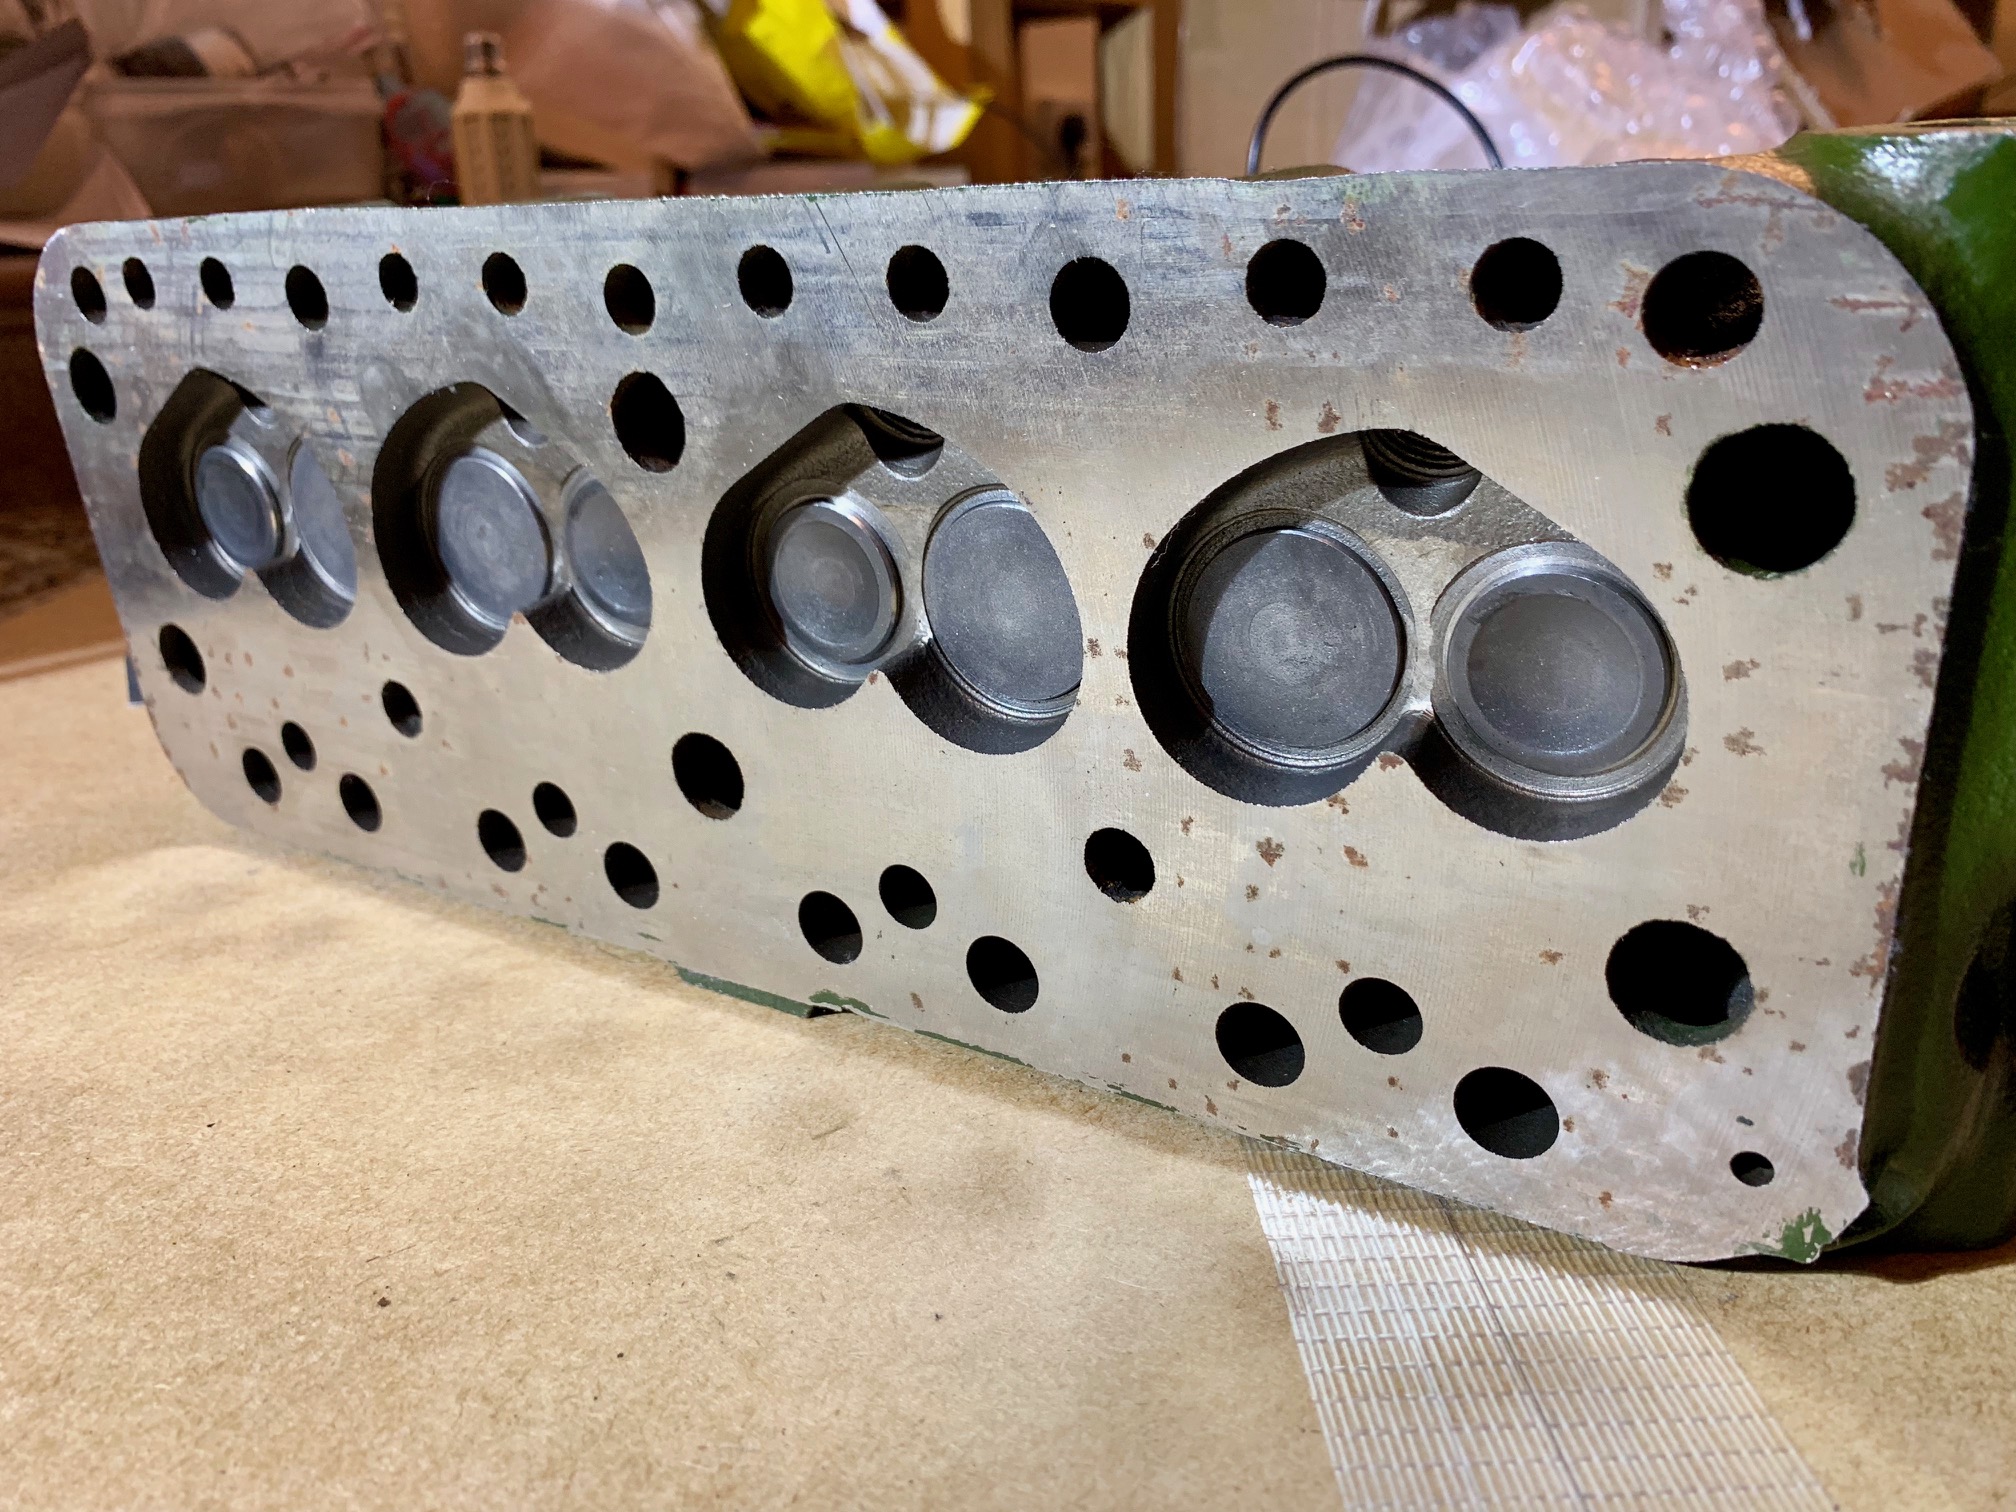
With the rocker assembly out of the way I removed the valves – I made sure to number them so I knew which ones belong in which holes when it comes to reassembling, and I did this by sticking them in numbered holes in a sheet of cardboard.
Removing the head bolts was easy – removing the studs however was a bit of a challenge. I dare say a pair of molegrips would’ve been handy, but I’m not organised enough to have located a pair, so I instead spent a larger amount of time locking nuts together on the studs and attempting to remove the studs this way – eventually I got them all out.
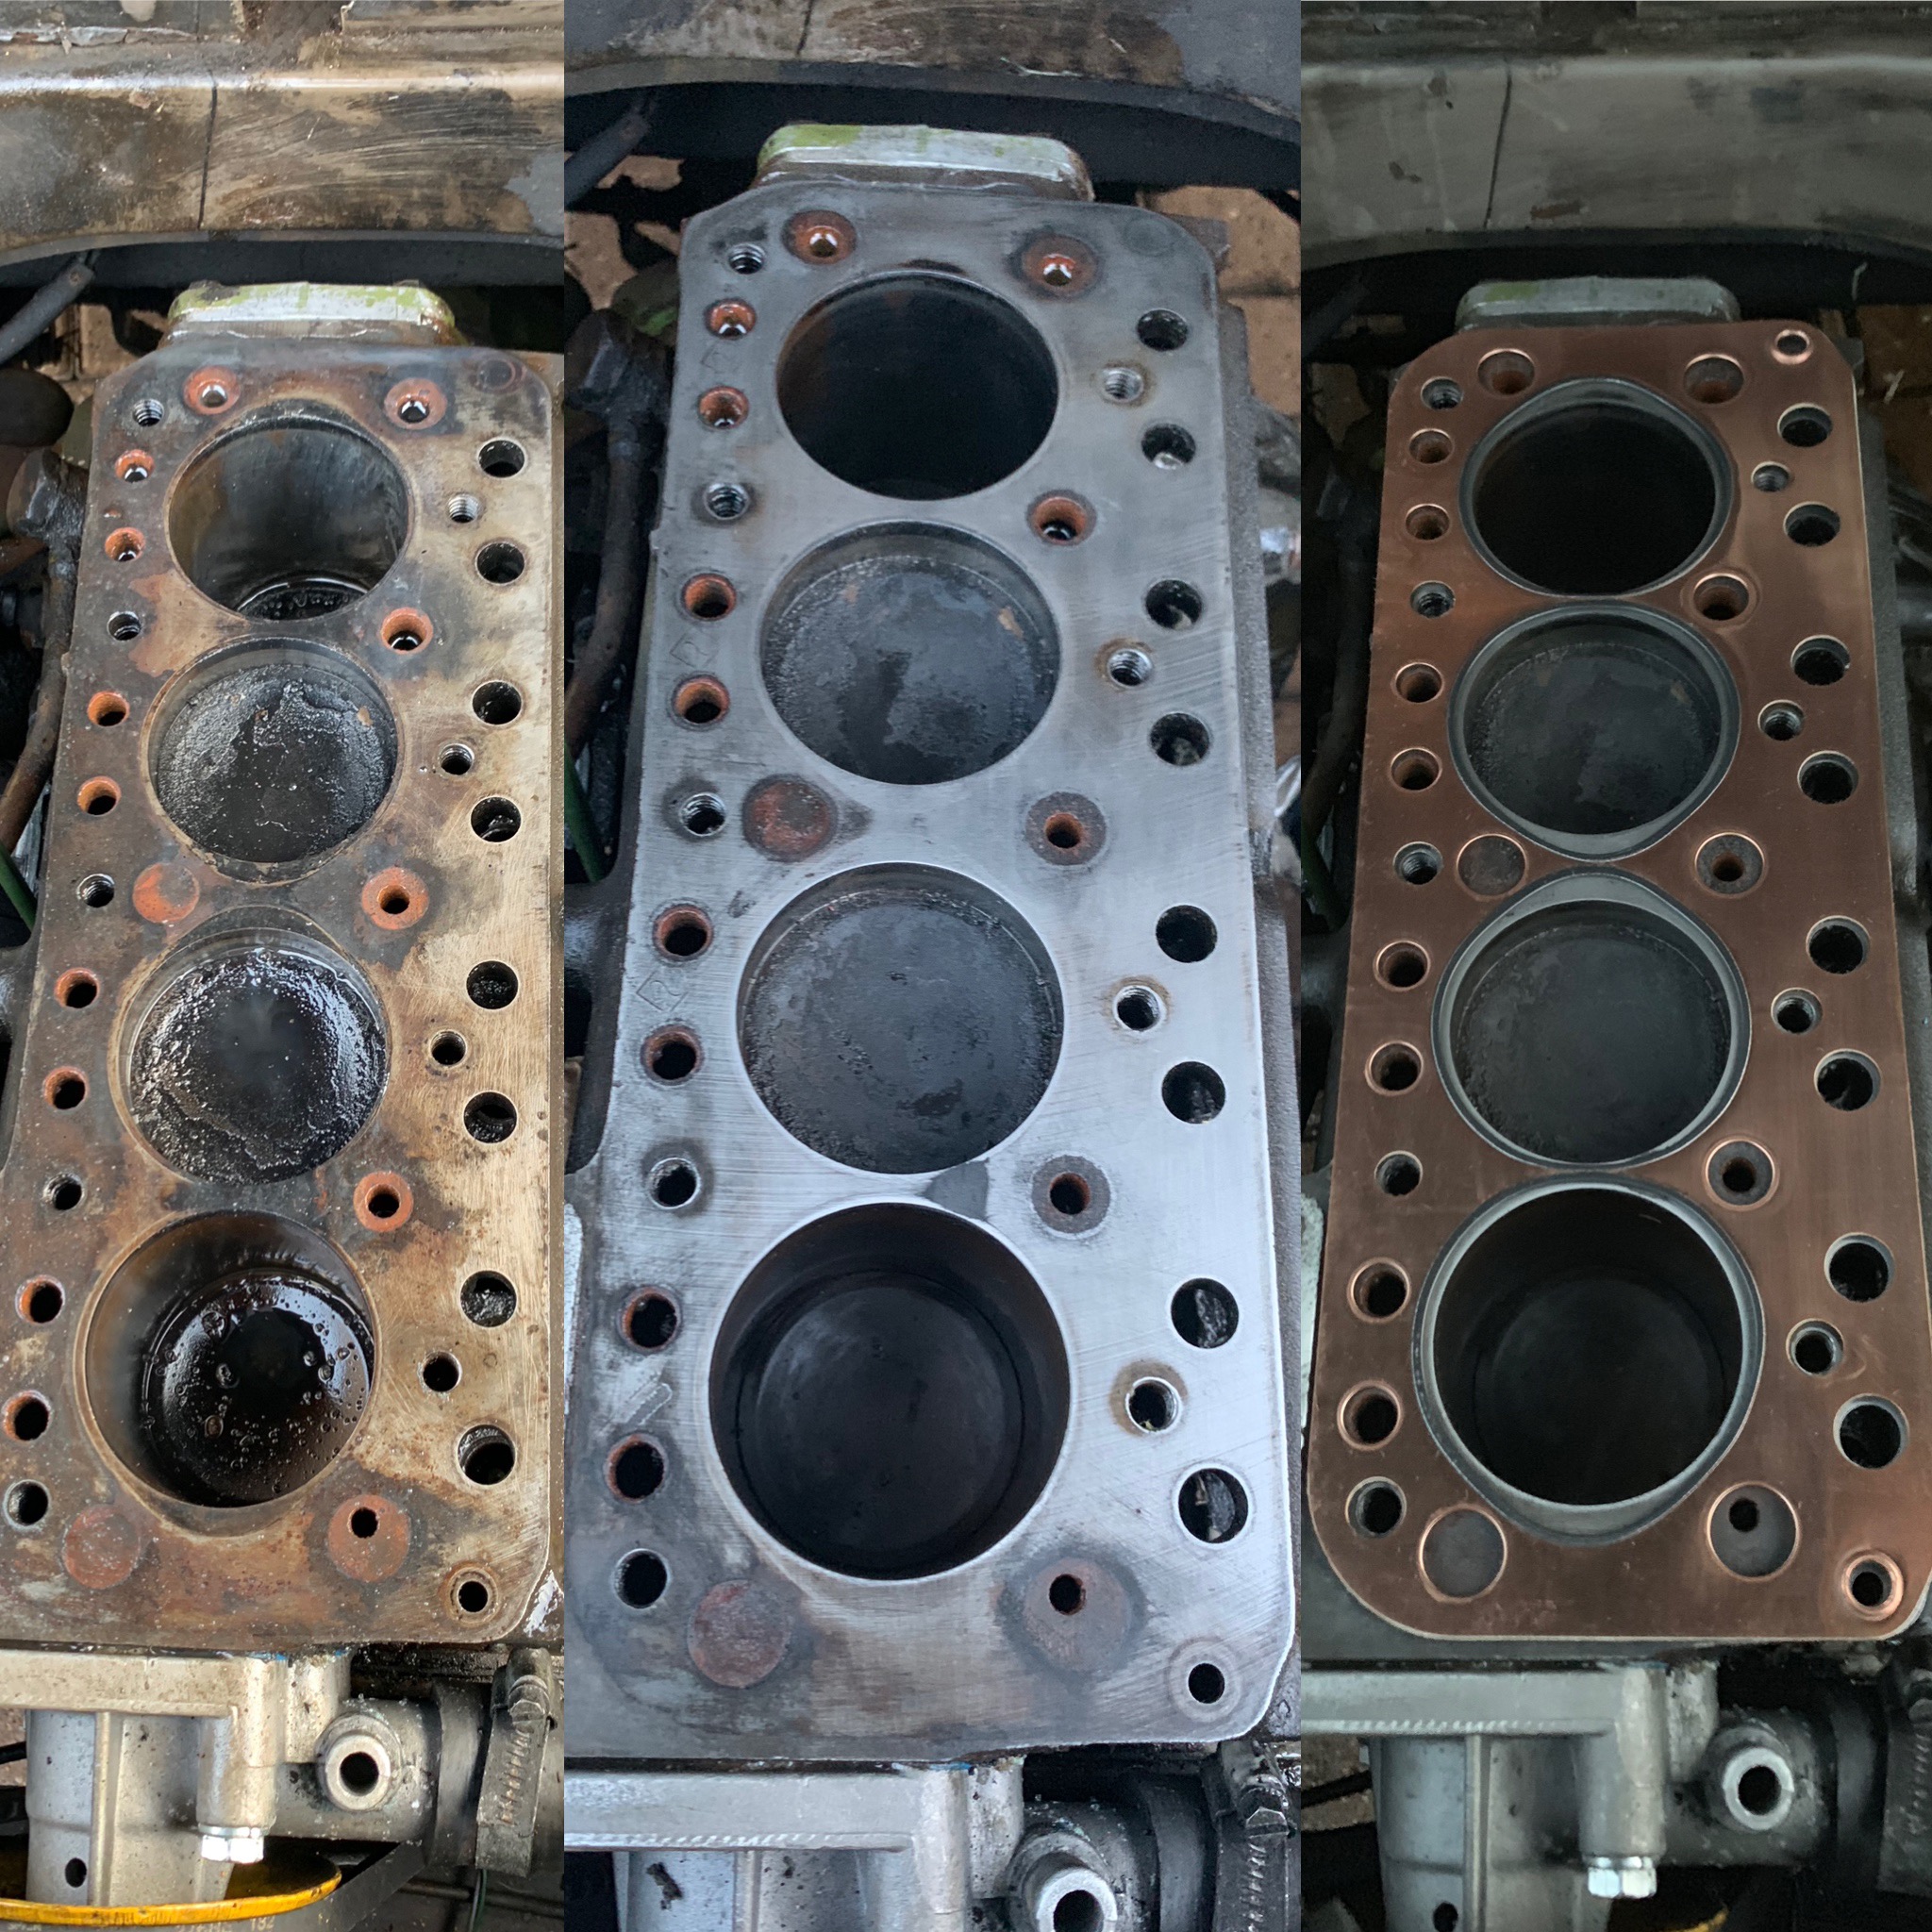
2) The cleaned-up surface of the engine block
3) Checking that the new gasket lines-up properly before fitting studs
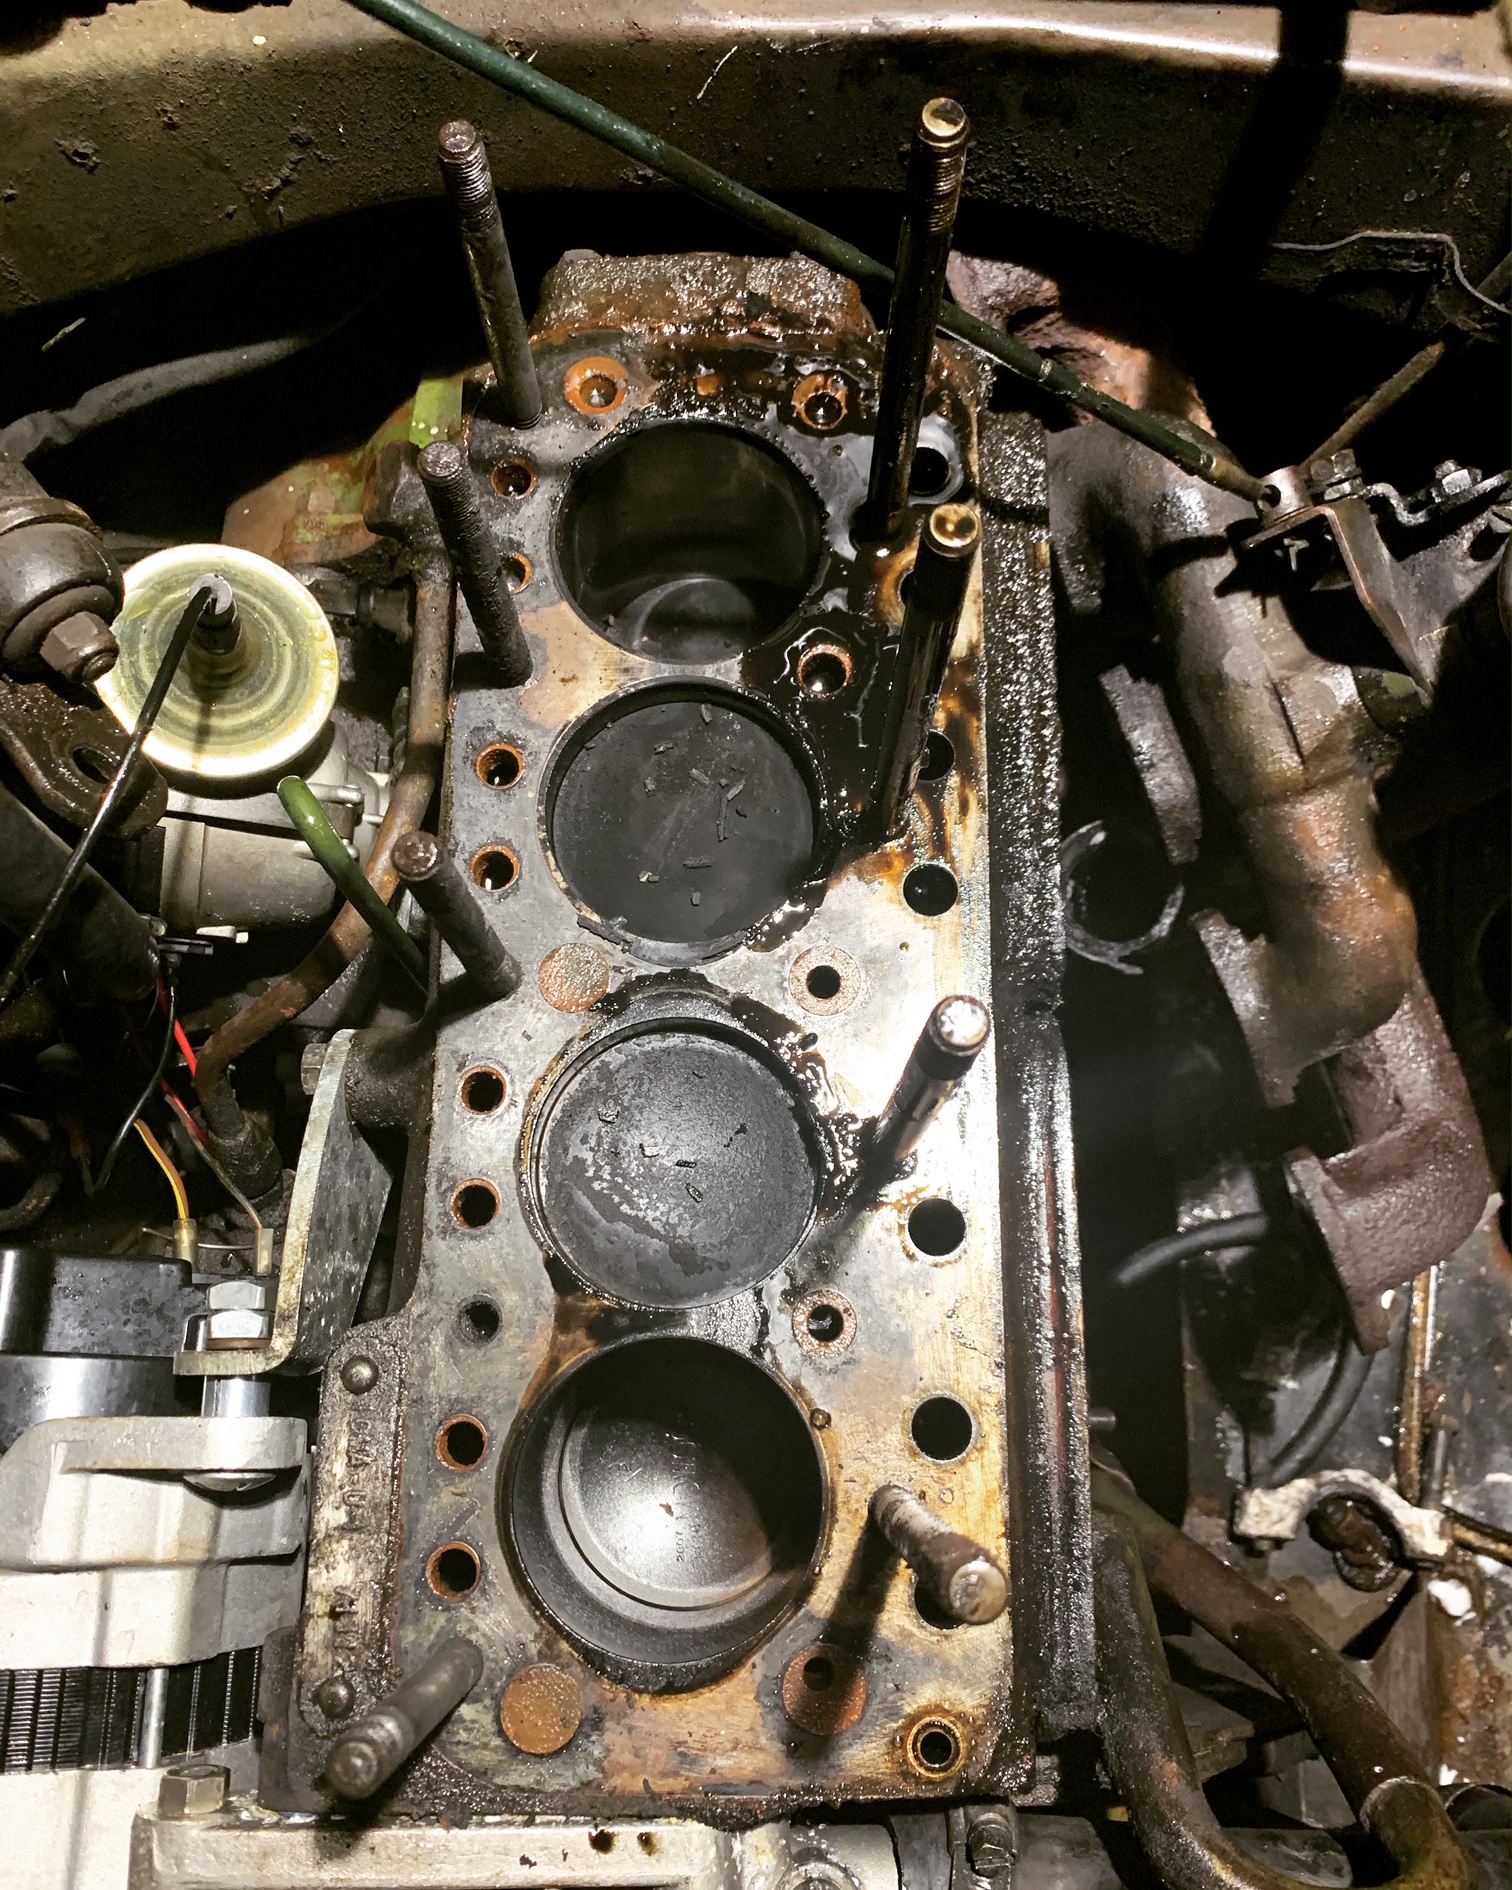
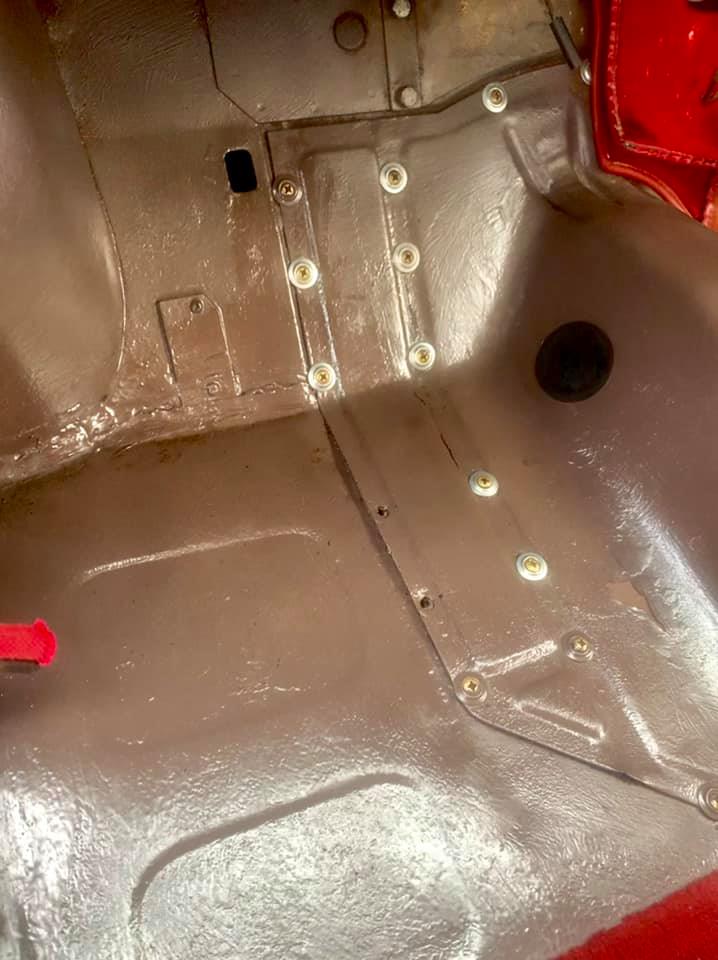
Once the studs were removed from the block, the surface needed some cleaning so that the head gasket’s seal would be as good as I could get it. I started by cleaning out the bores and drying up any oil or coolant that had leaked in.
To remove the surface rust and other debris I got a sanding block that was at least as wide as the surface I was cleaning-up and used a very fine sand paper to polish it up a bit. I made sure to sand in one direction, applying equal pressure/force in all areas equally so not to distort the surface.
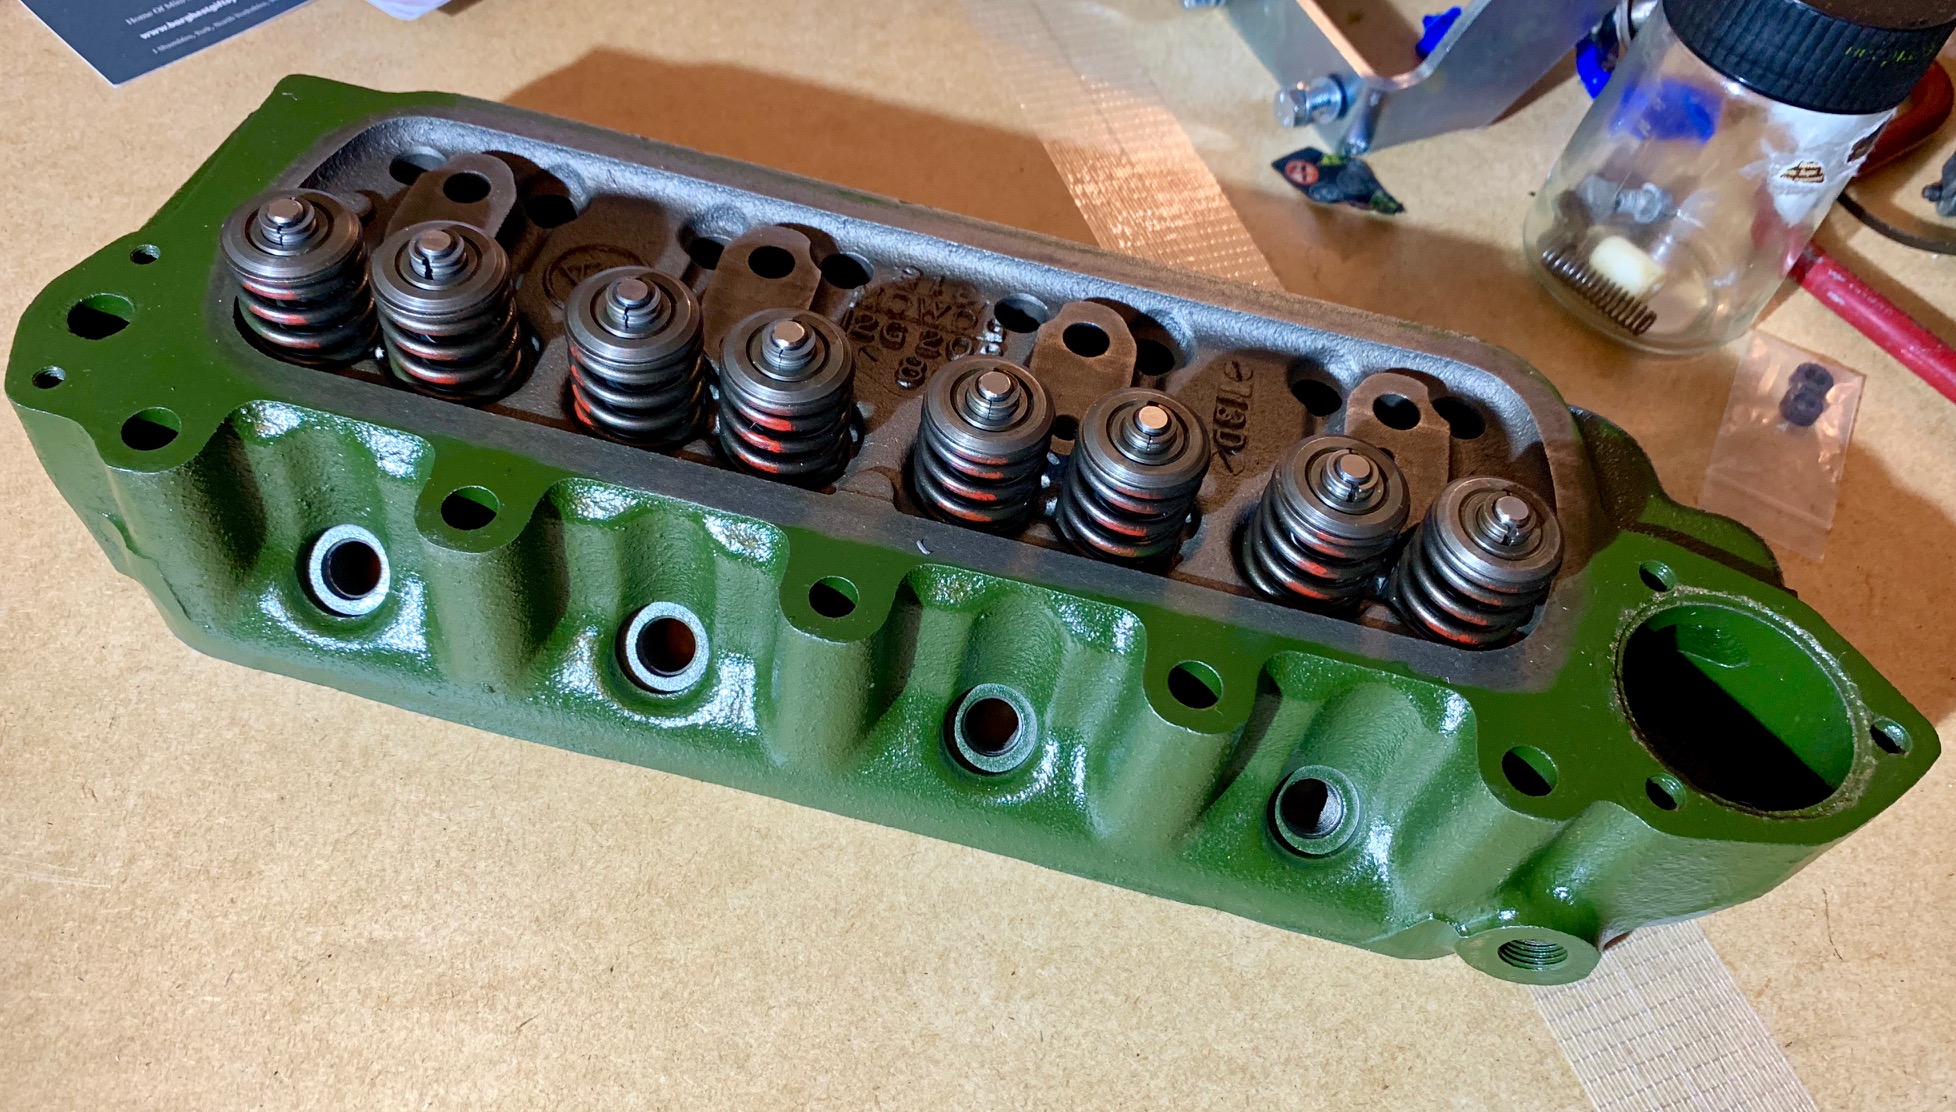
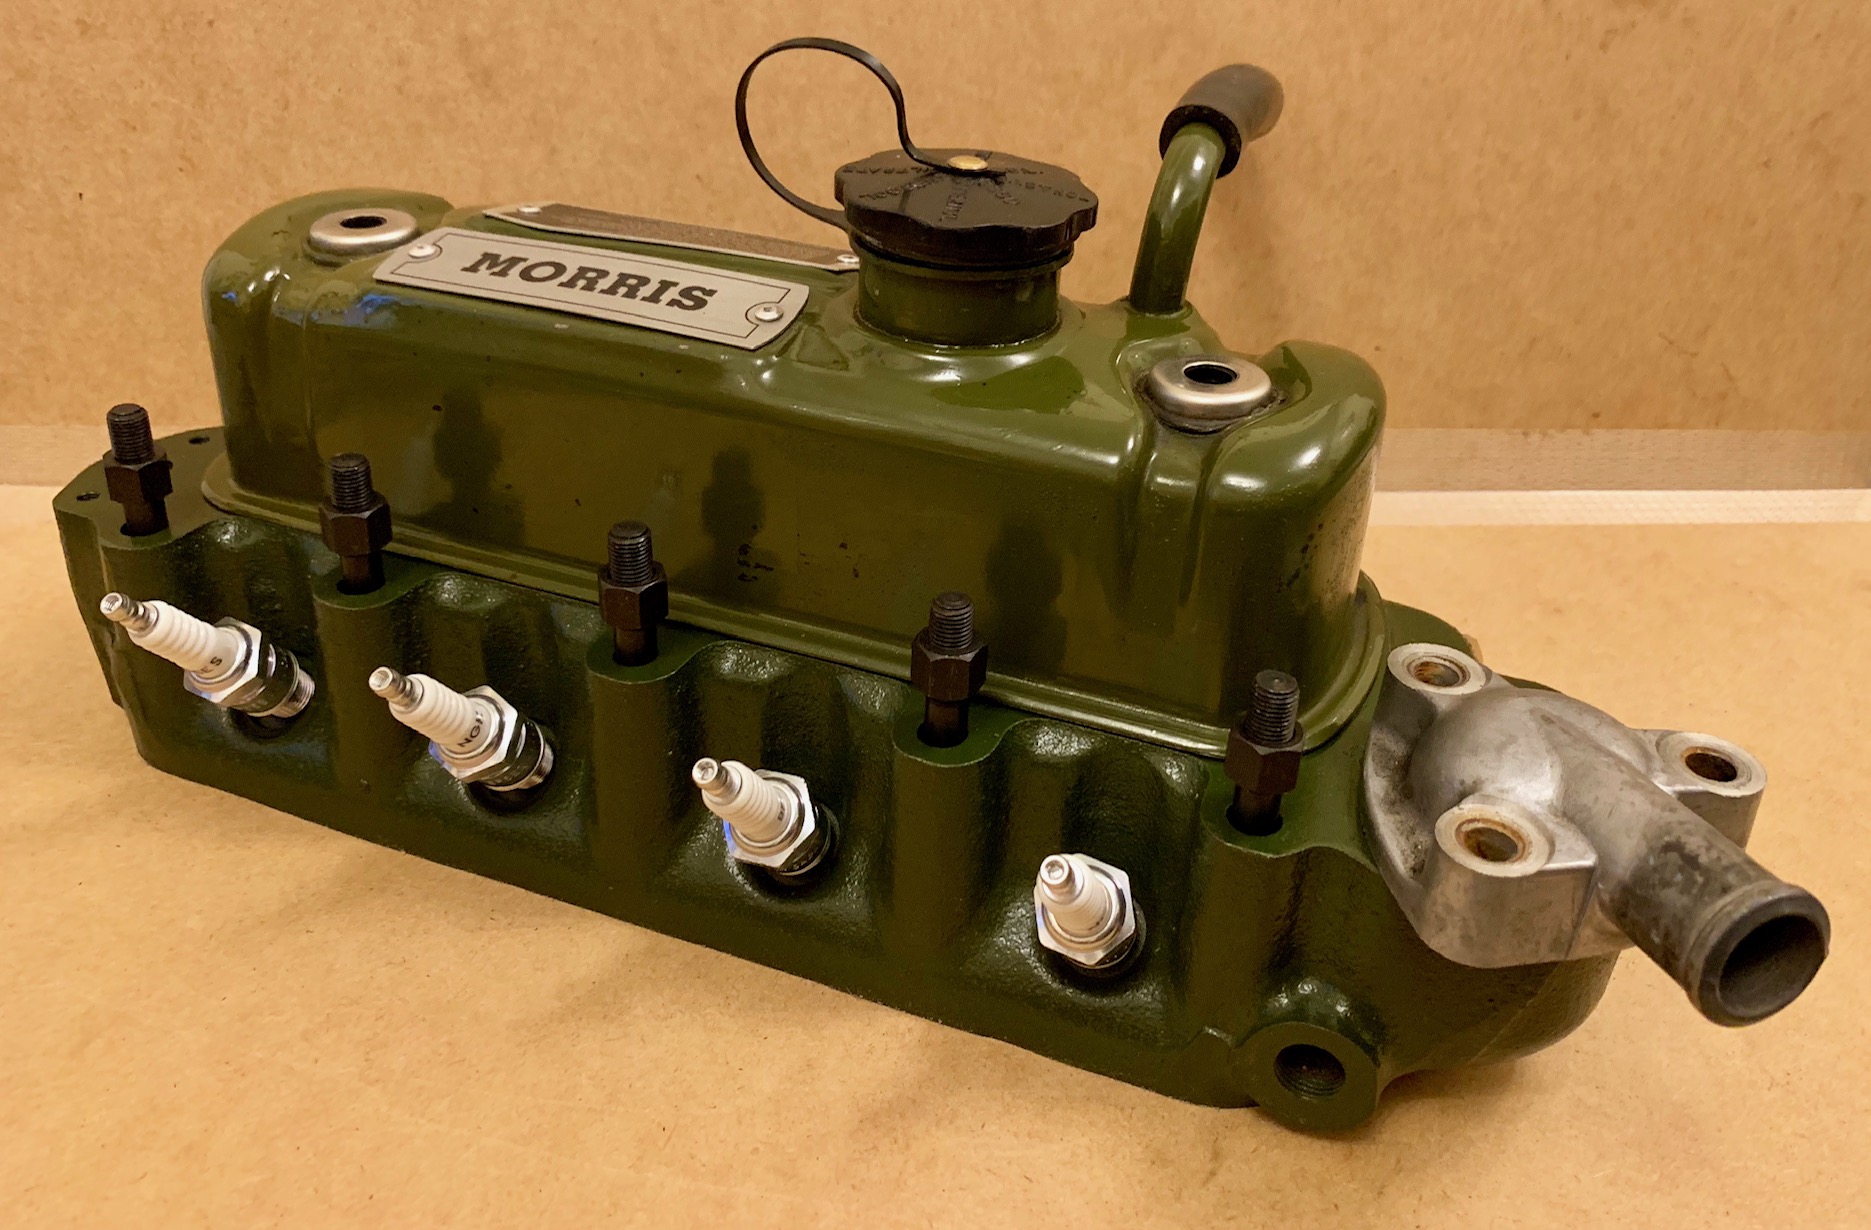
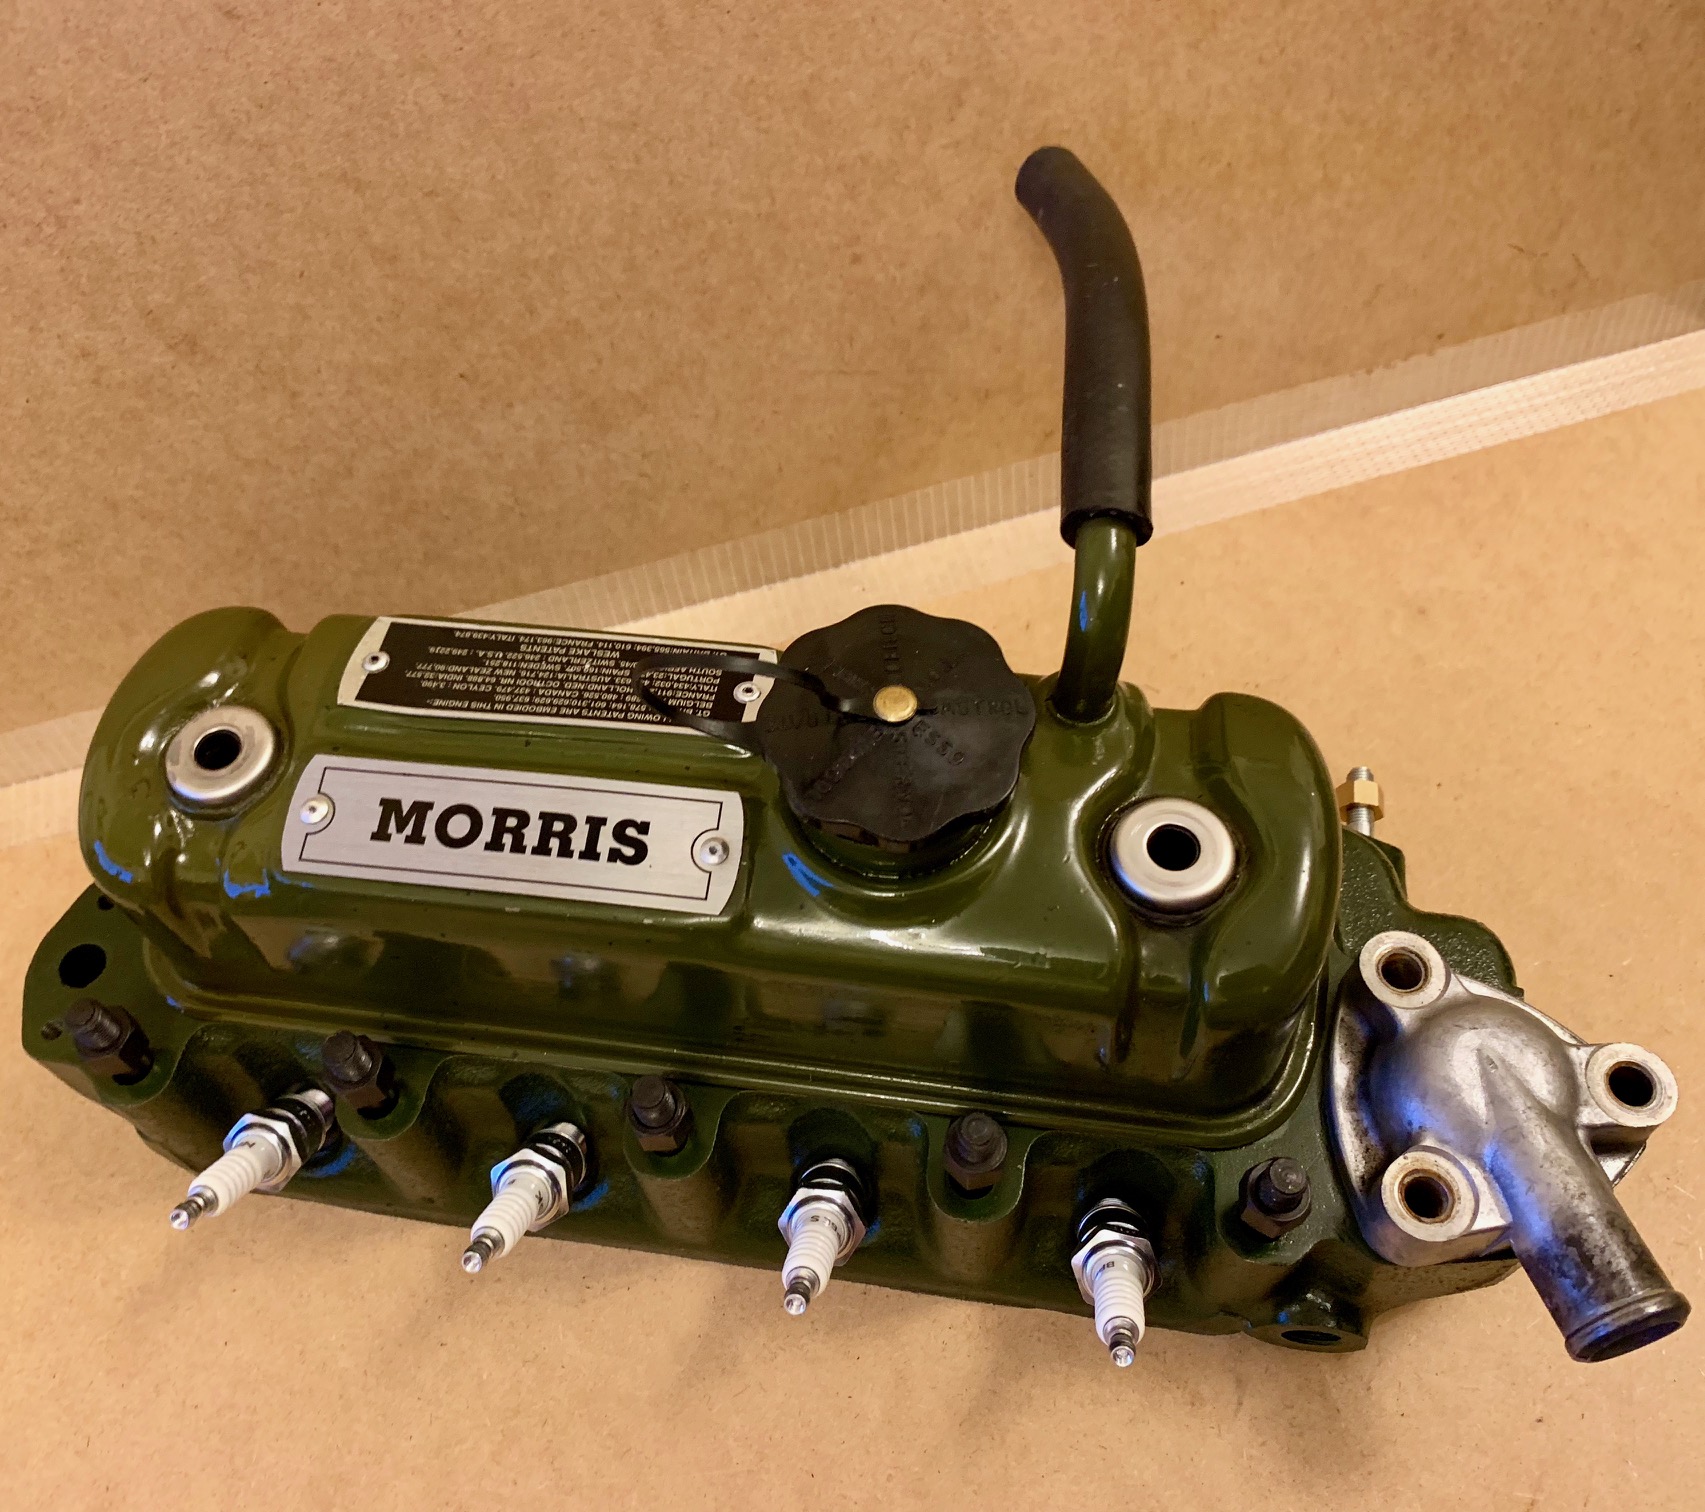
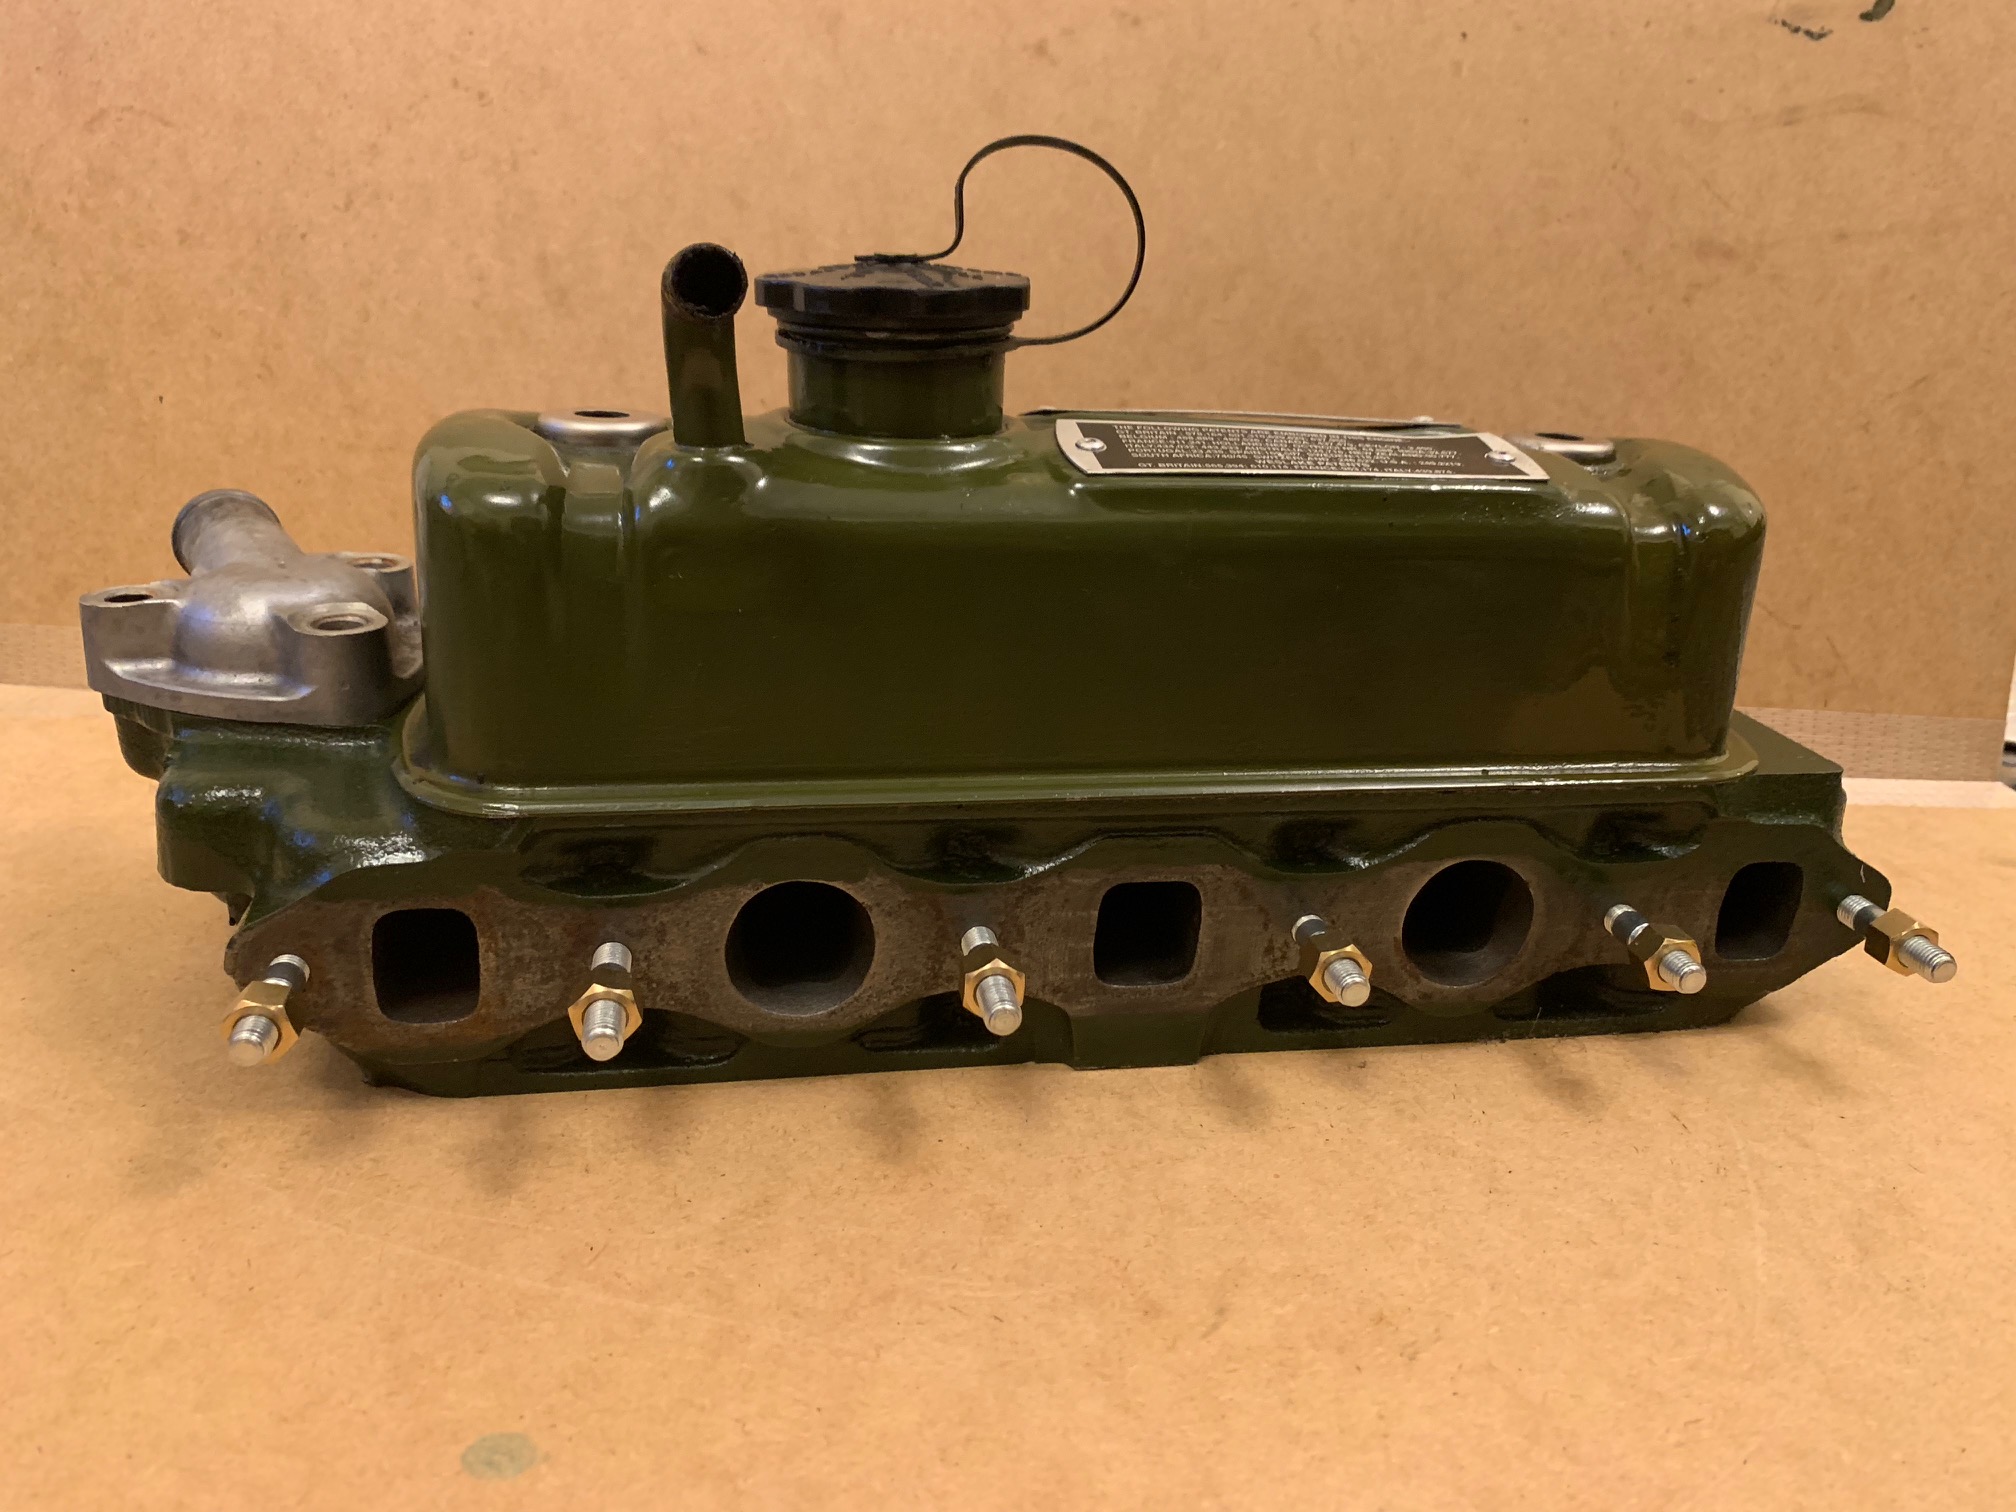
The new head:
I ordered everything for this project from East Sussex Minors (ESM) – every time I’ve ordered from them I’ve had the item delivered the next day, and I’ve never had any problems with their service or their parts.
The new head arrived with all the studs, new nuts/bolts and gaskets, and it looked great! I decided to clean up the face of the head in a similar fashion to how I did the block.
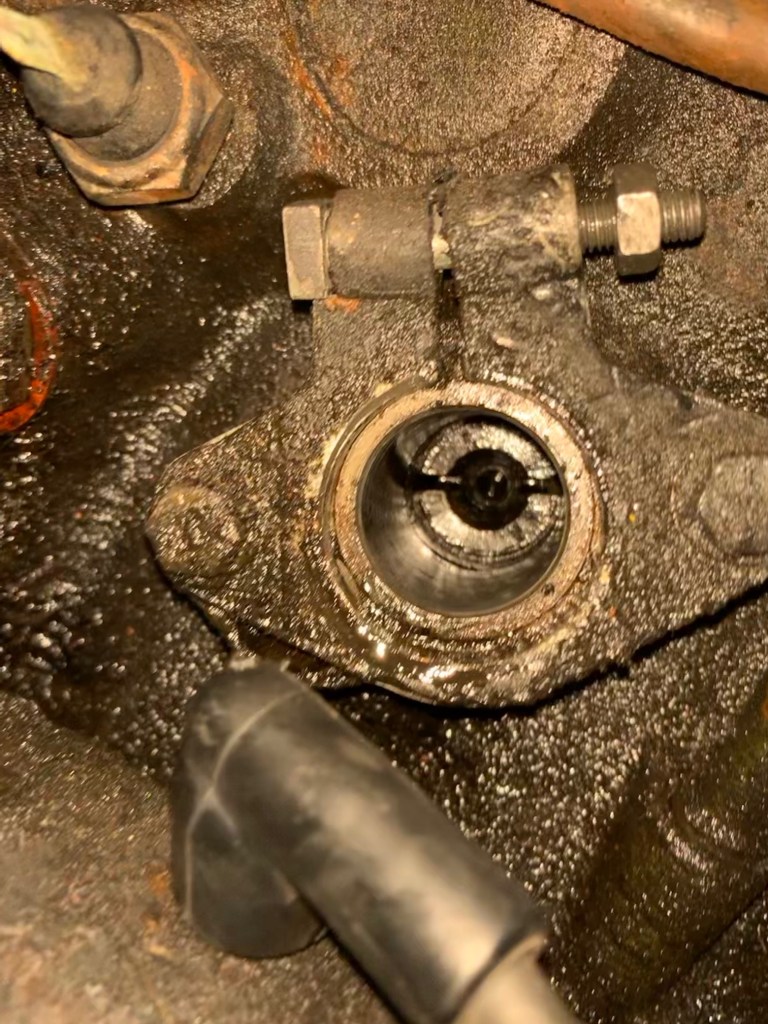
Another good idea whilst you’re at this stage is to replace the bypass hose that goes between the head and the water pump. If it’s perished, it’s not very easy to get at without removing the head again in the future!


You must be logged in to post a comment.