
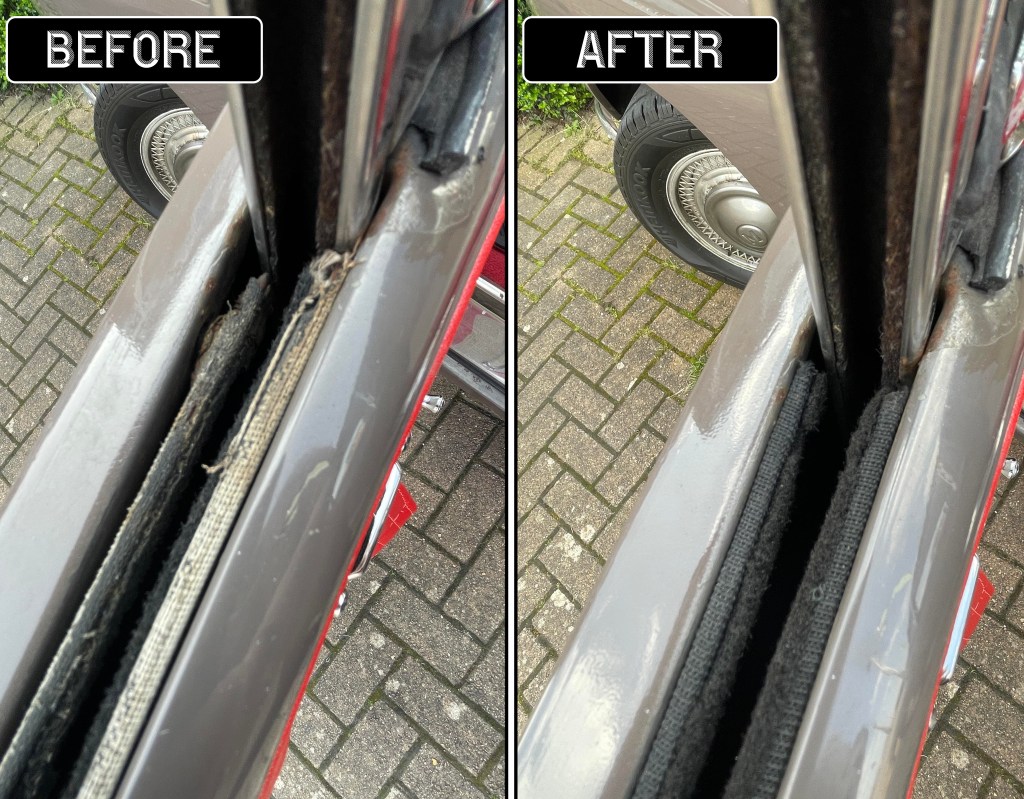
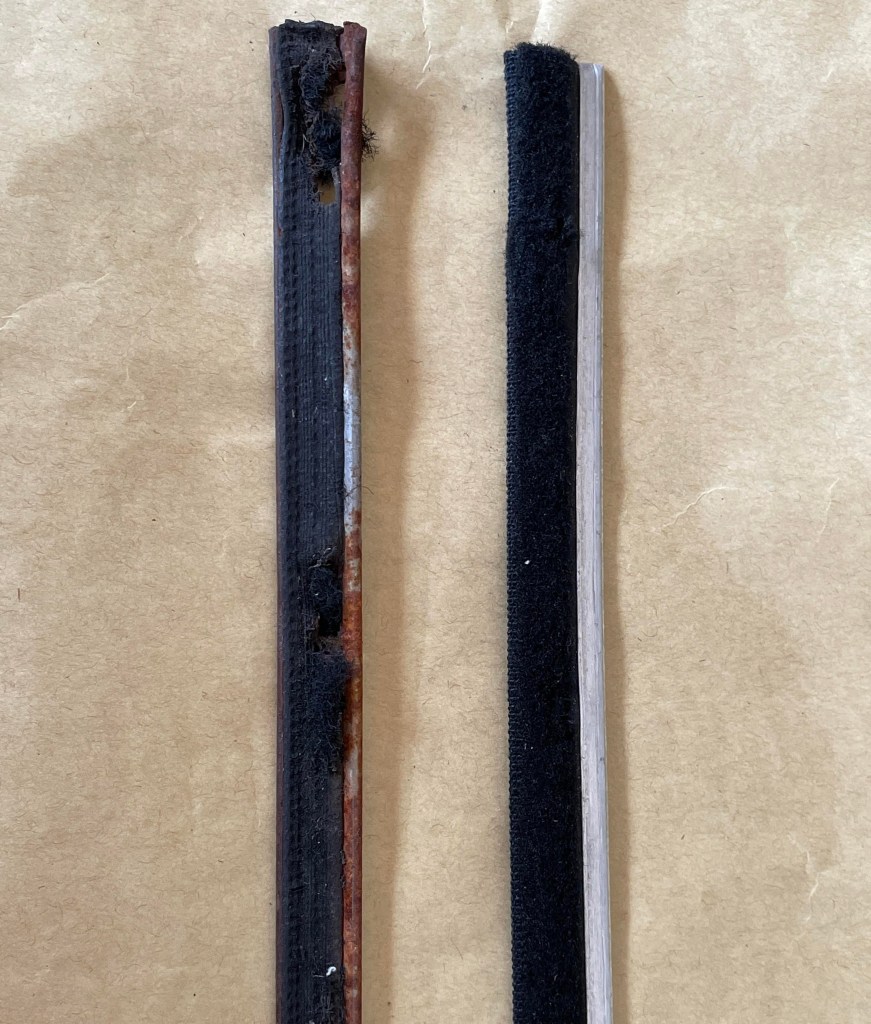
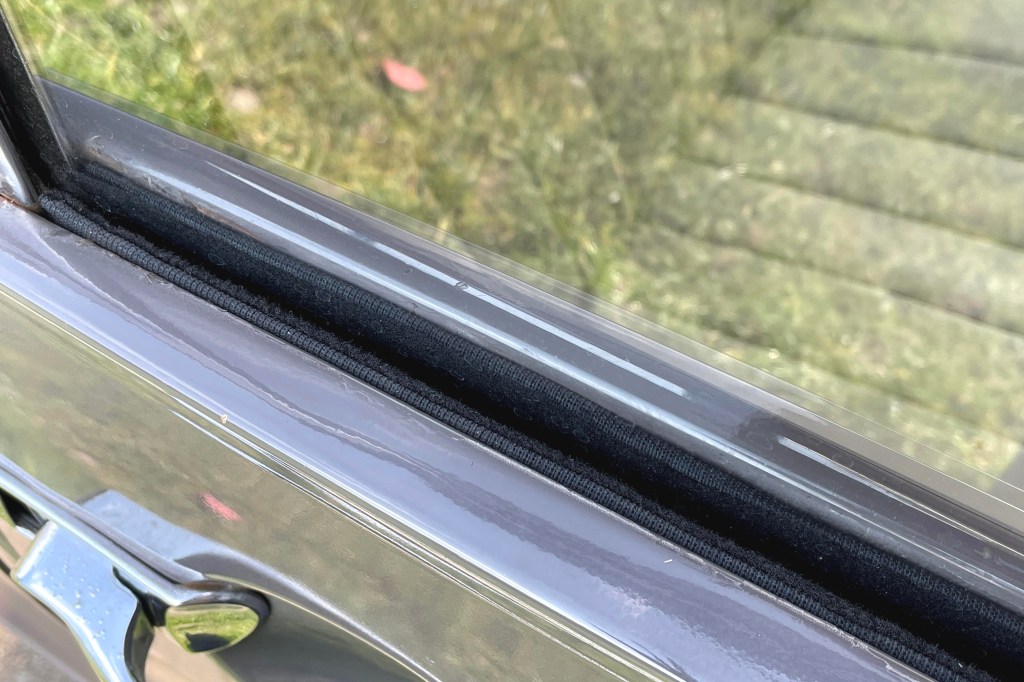
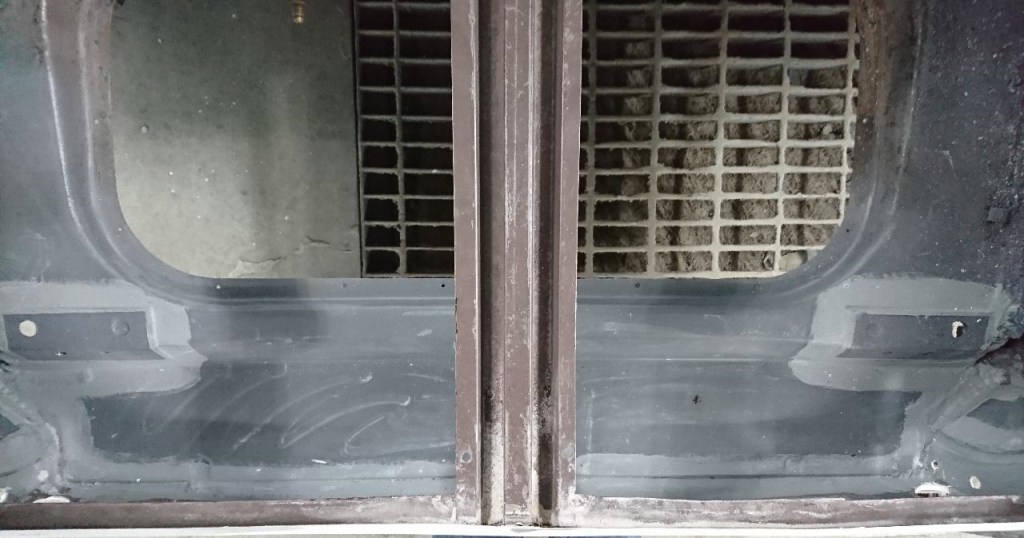
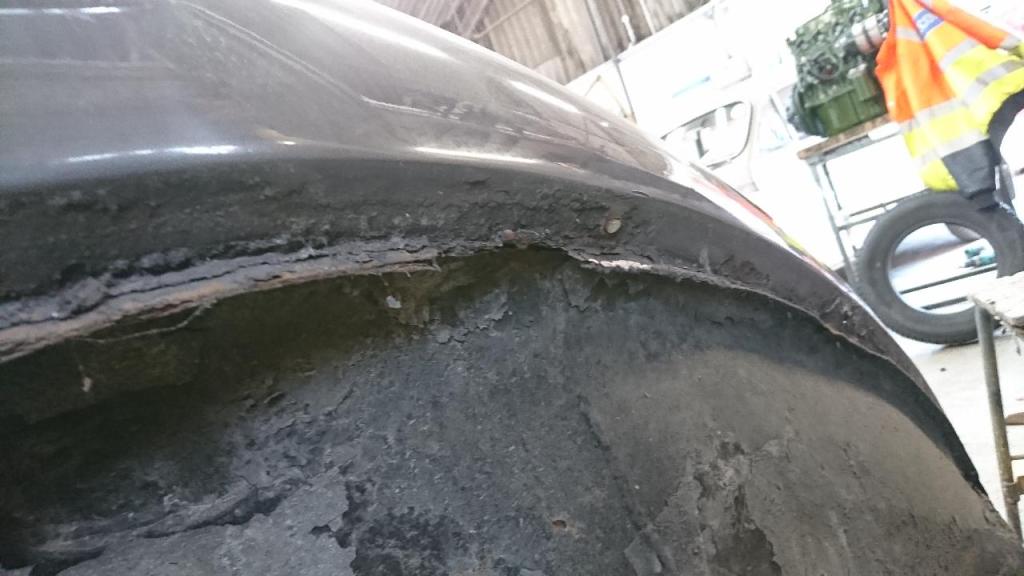
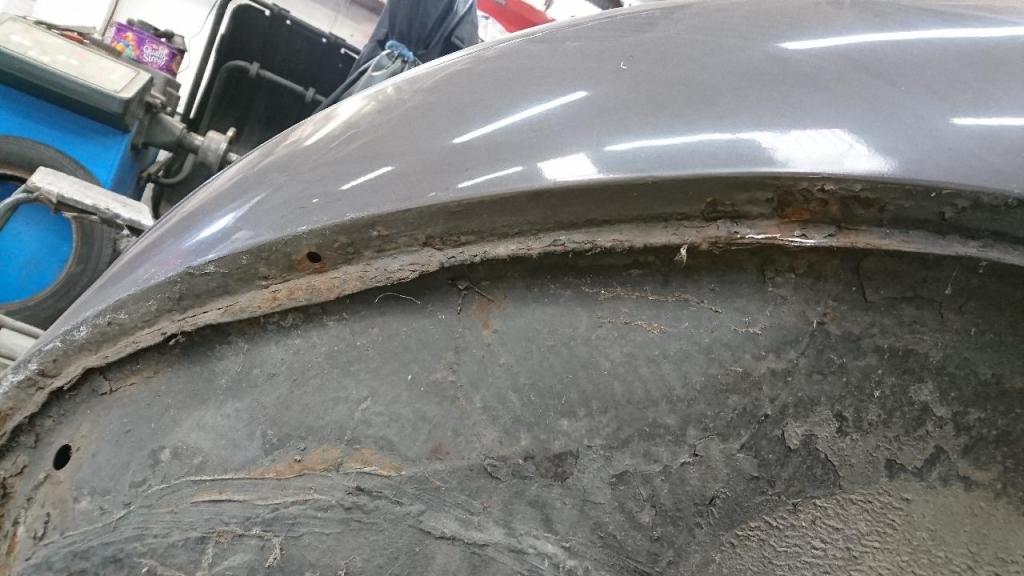
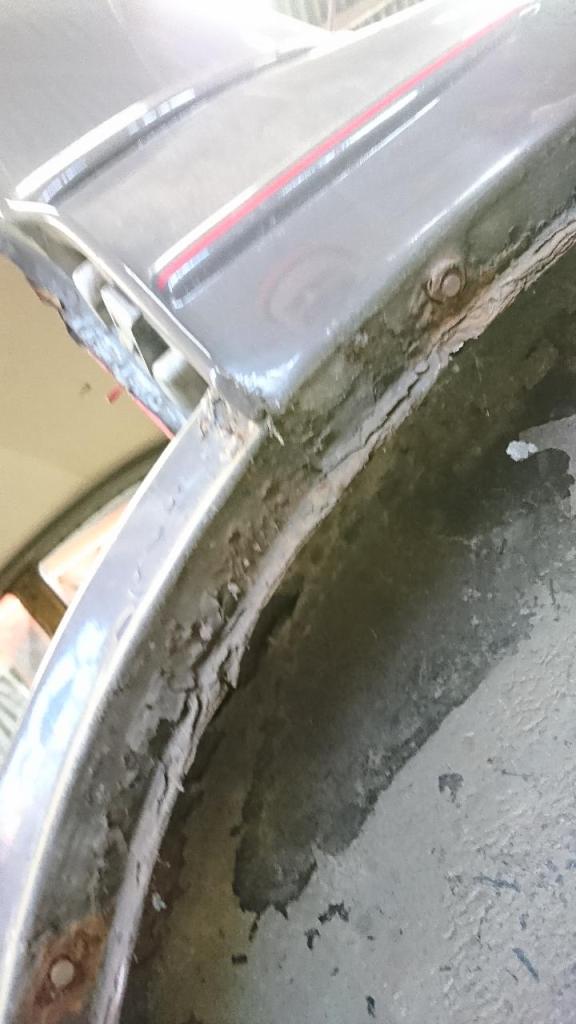
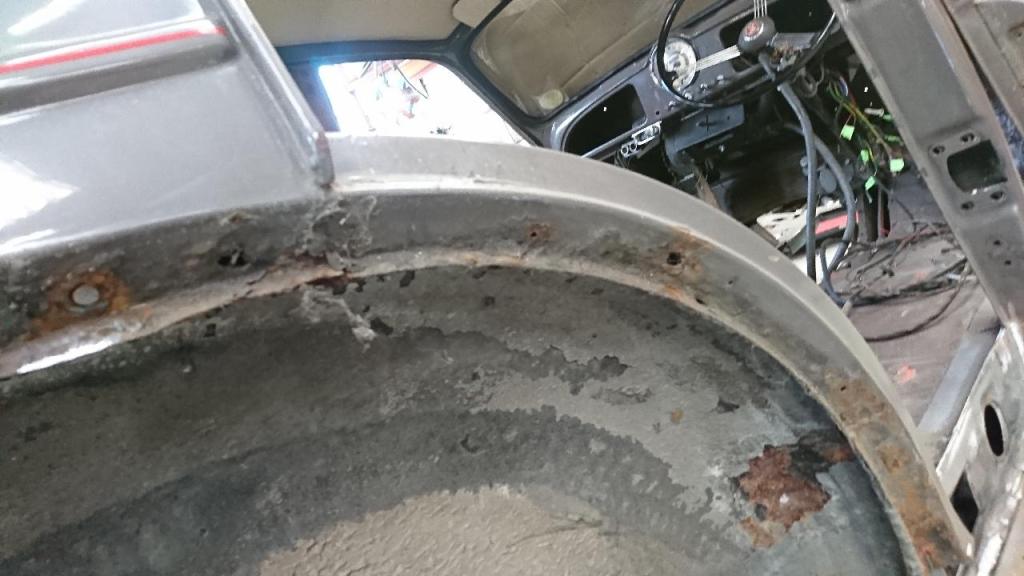
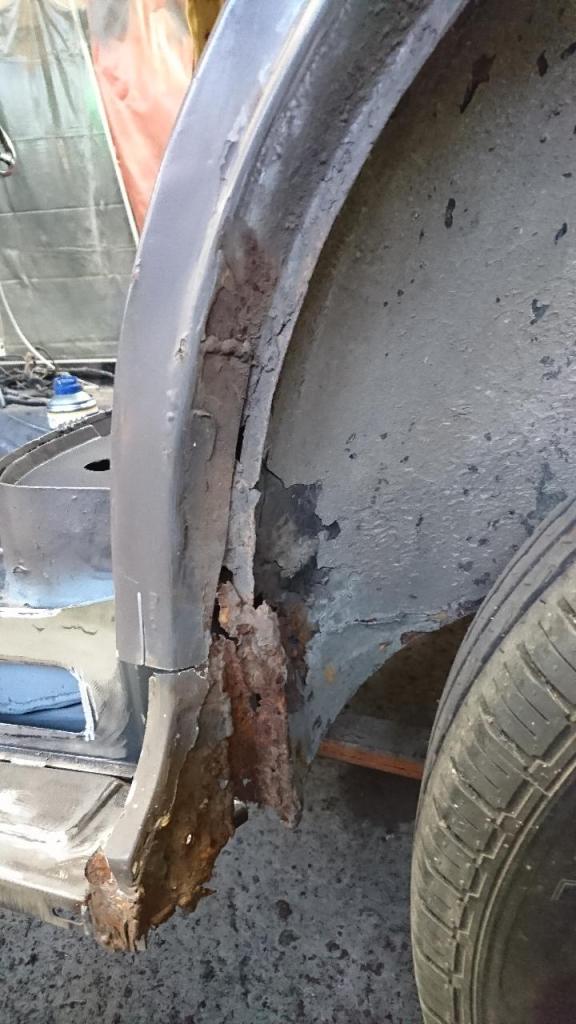
A few days ago I had a look over the car and decided to find some of the smaller jobs that need doing, and one of those was replacing the weather strips. I did a little bit of researched and asked around about how easy a job this is, and it sounded like something I could tackle, so I ordered a set of 8 original-style weather strips (2 required per door) and the clips that attach them to the frame. As you can see below, the old ones were completely shot, were bent, rusty, and the fabric had clearly deteriorated and almost completely worn away over decades of use.
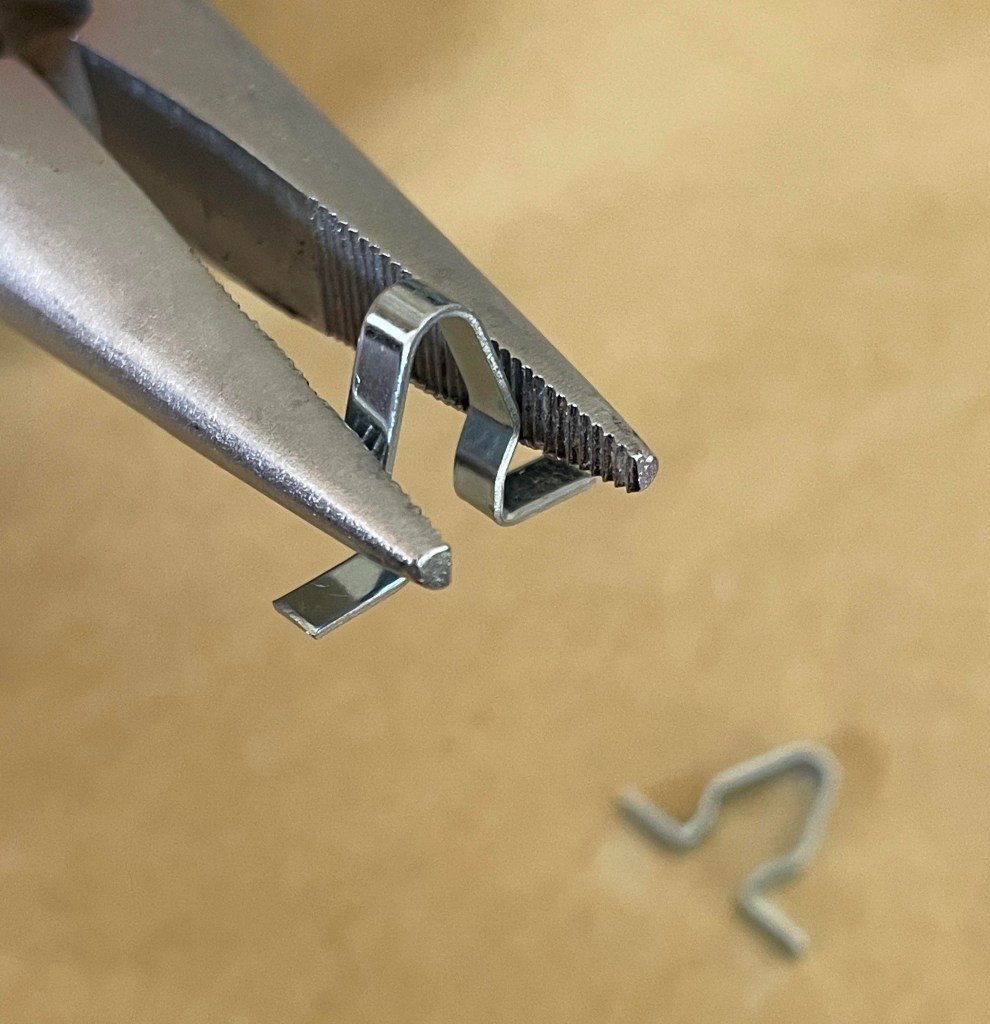
This is one of those jobs that isn’t difficult as such… it’s just fiddly and annoying, and it’s very easy for the clips to drop down into the door cavity, never to be seen again.
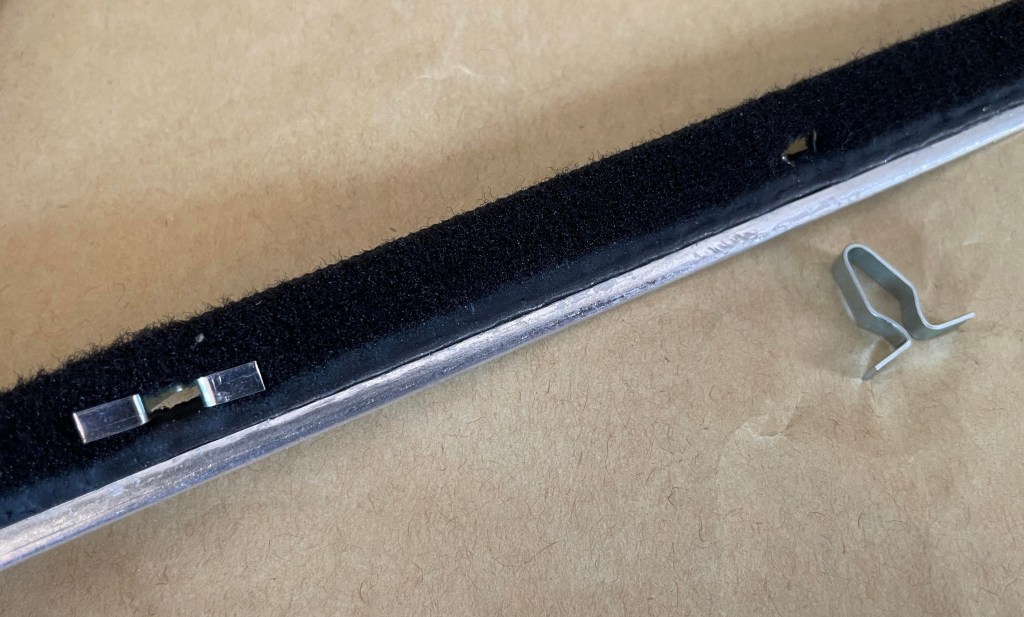
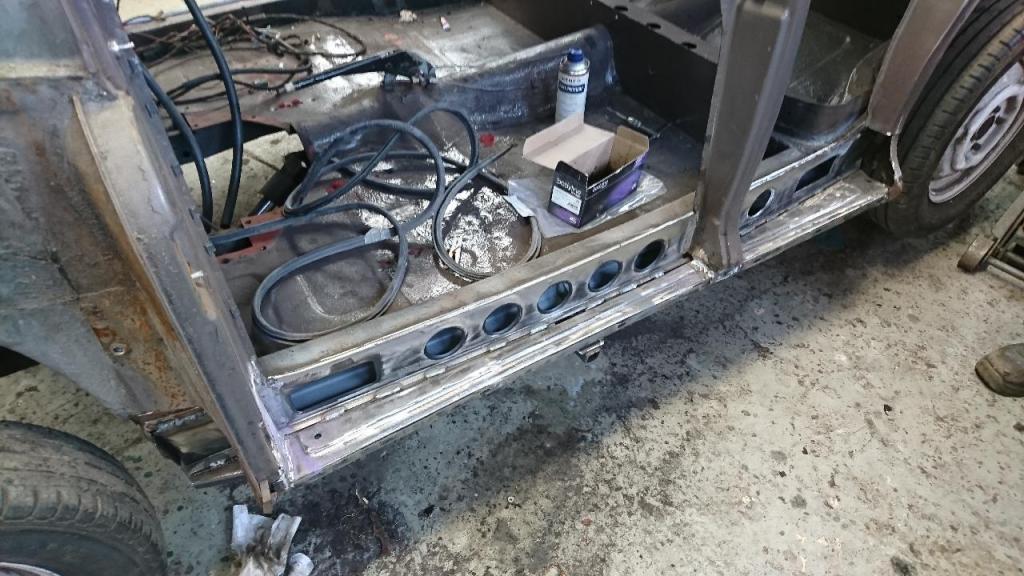
The new clips were wider than the original ones, so I found pushing them into the door to be a bit of a pain – I quickly realized that squeezing them tighter with a pair of pliers helped in the fitting process.
At this time I have only completed the front weather strip replacement. I intend to replace the rear door quarter light seals rather soon, as they are starting to break apart, and to do this will require that I remove the rear window frames from the doors. As the rear windows do not drop as low as the front ones do, I figure fitting the replacement weather strips to the rear door will be a trickier and more frustrating job, but we’ll see.
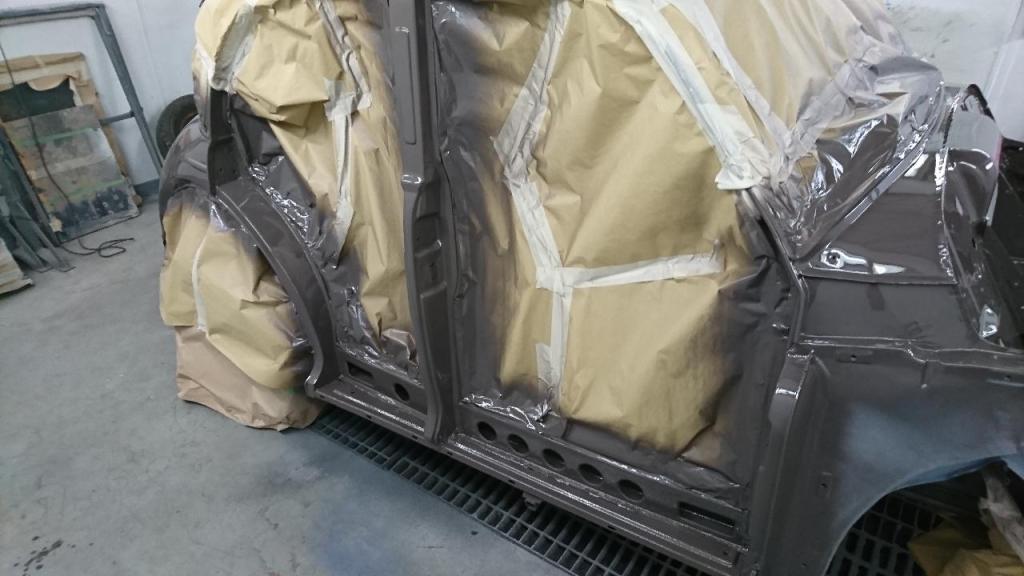
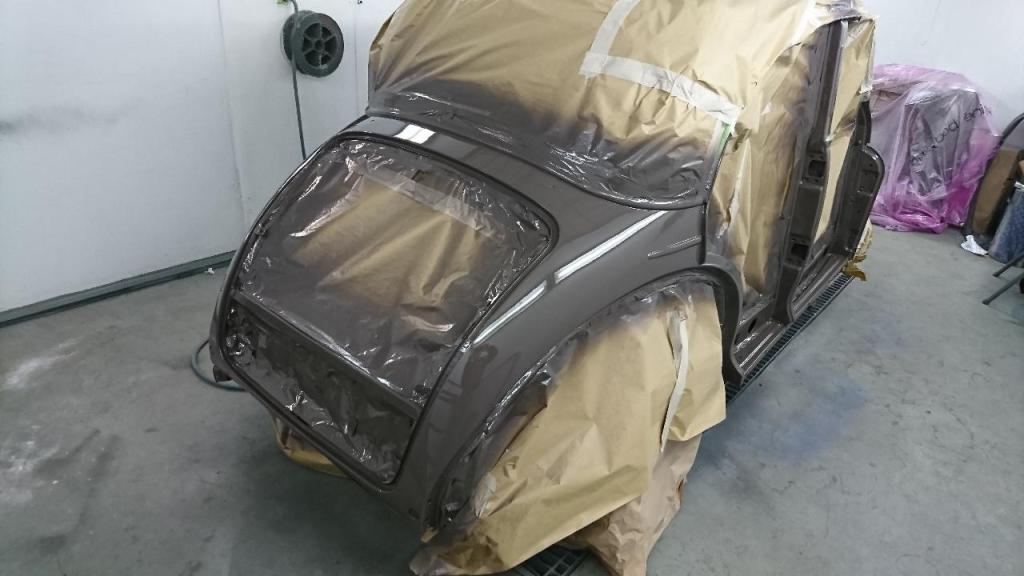
Only some paintwork was harmed in the replacement of these parts.
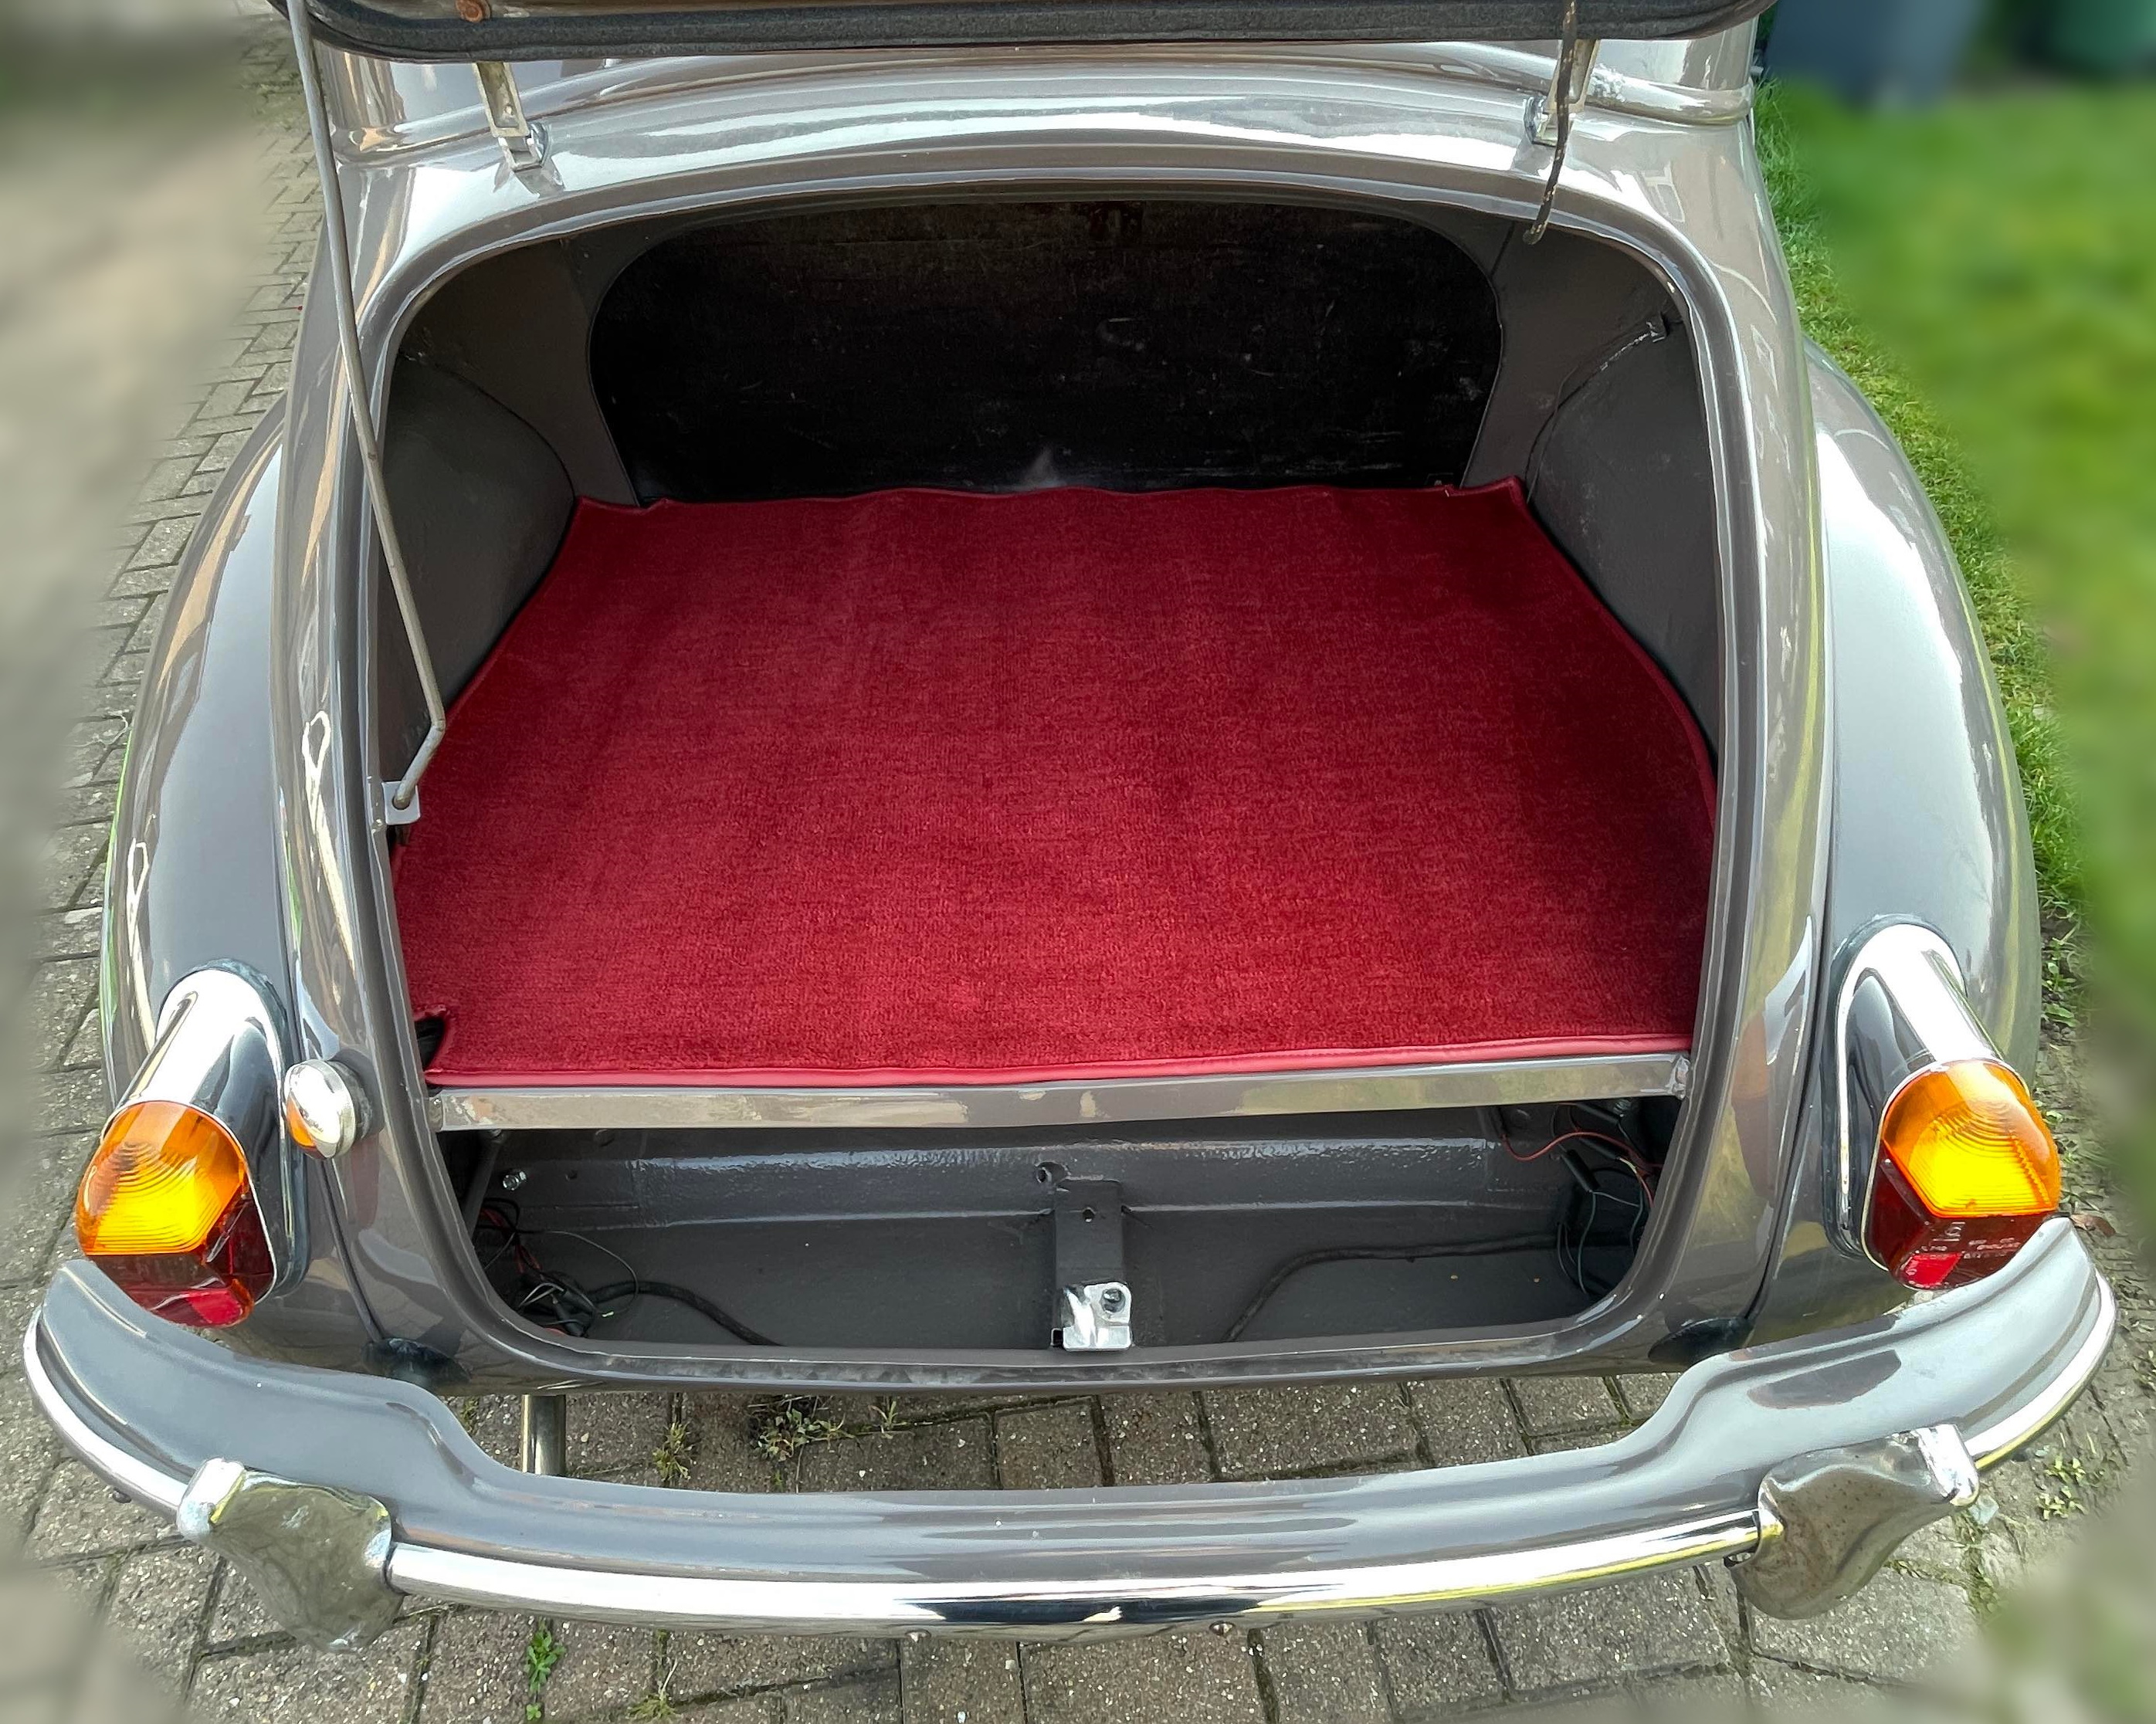
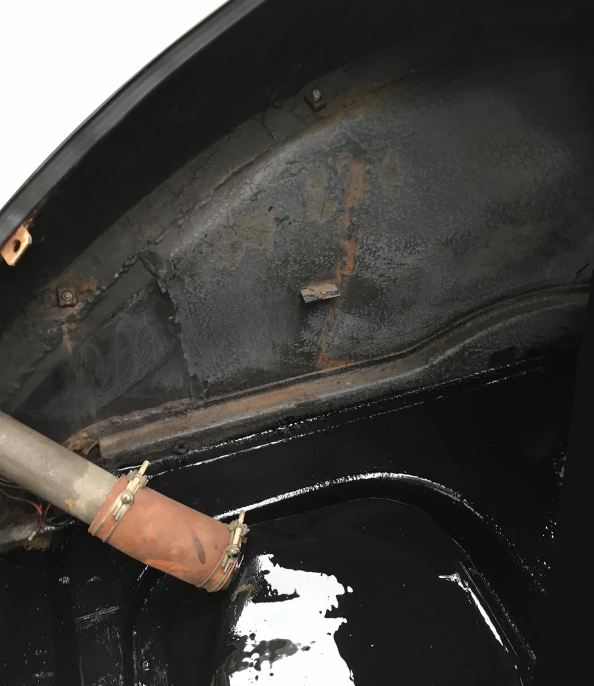
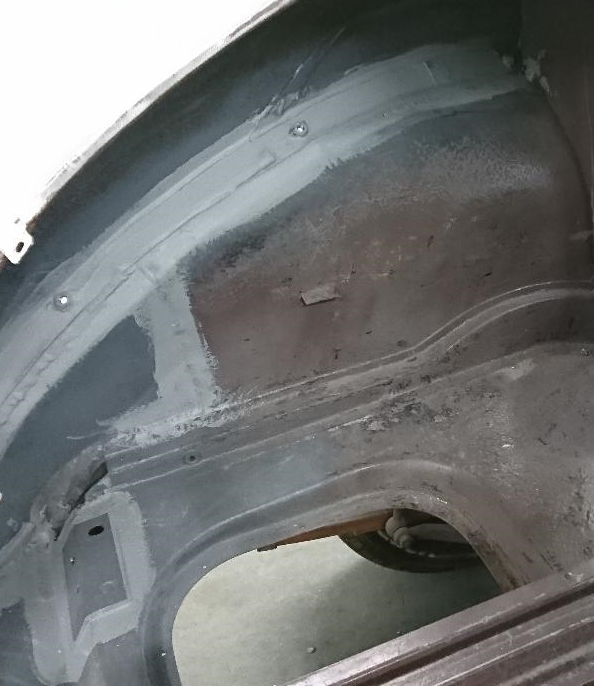
Also, as a small side note, today I received a carpet for the boot – It makes it look a lot neater!

Use the slider to view the before and after.


You must be logged in to post a comment.