
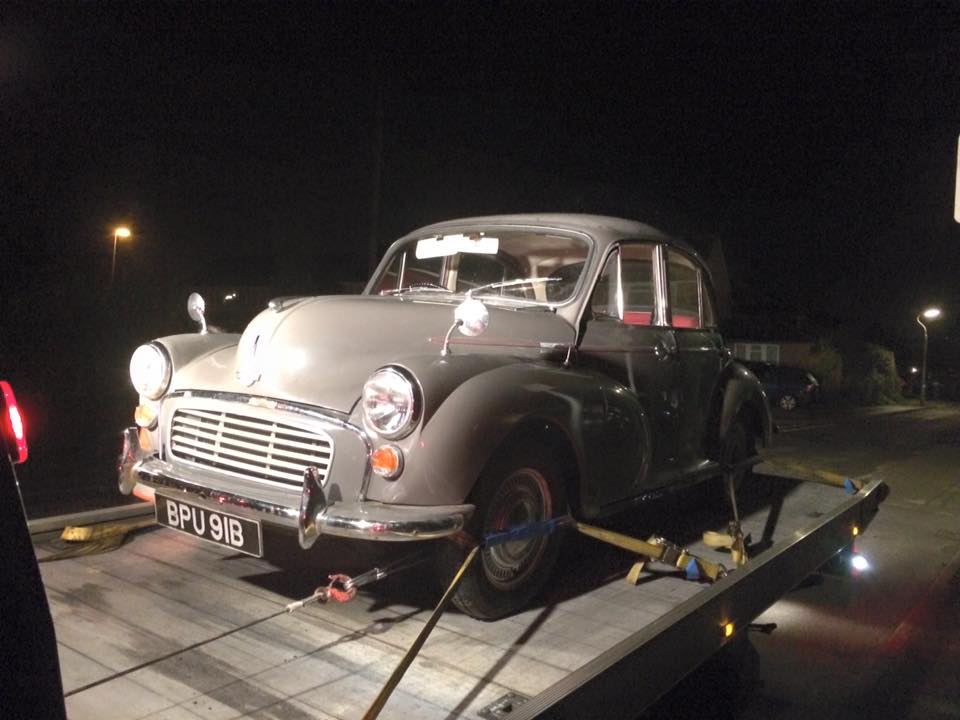
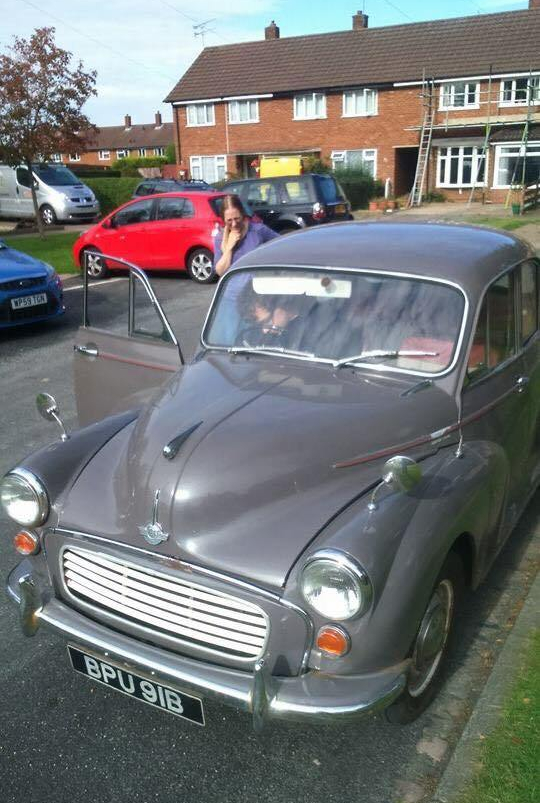
On a drive just out of town a few days ago there was a slight waft of burning plastic, and a puff of smoke from the glove box behind the steering wheel. It turns out that for some reason whenever I turned on the lights, the wiring loom would begin to self destruct, melting, and shedding it’s insulation, presumably filling the cabin with toxic fumes. I could’ve probably chased the problem and patched it up somehow, but as it would be difficult to assess the full extent of the damage caused without cutting up the loom, and with wires in both the glovebox and boot being stripped bare, i figured the best course of action was to replace the entire wiring loom.
Firstly I set about taking photos of the fuse box and voltage regulator so I knew where the bulk of the connections terminated.
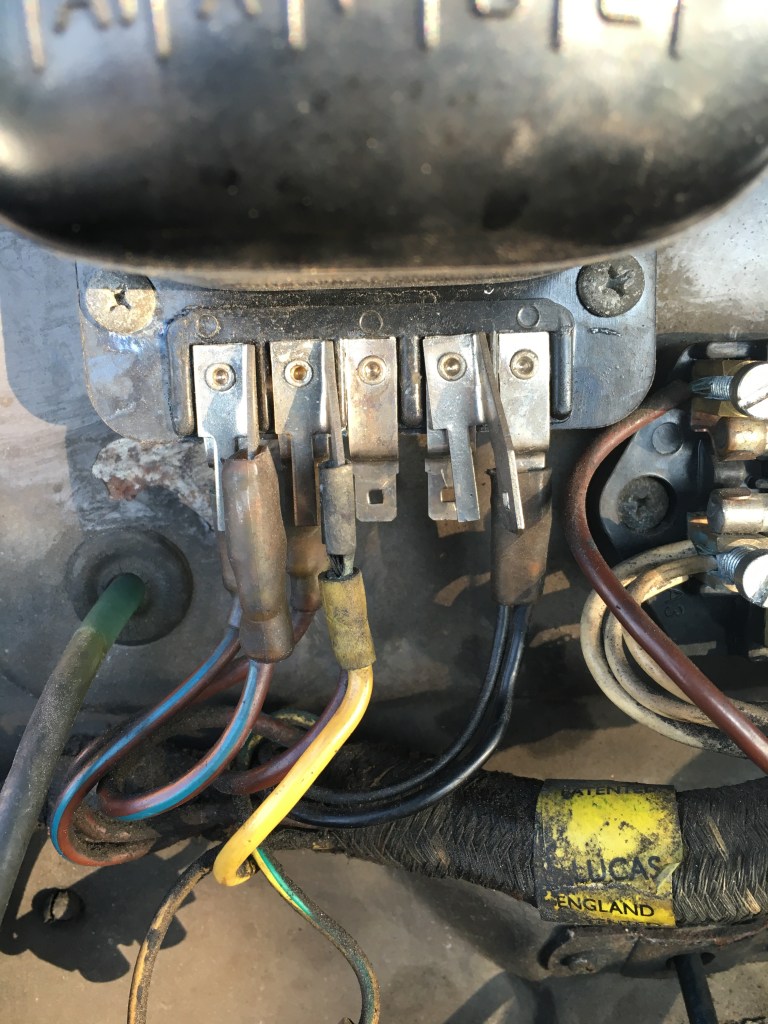
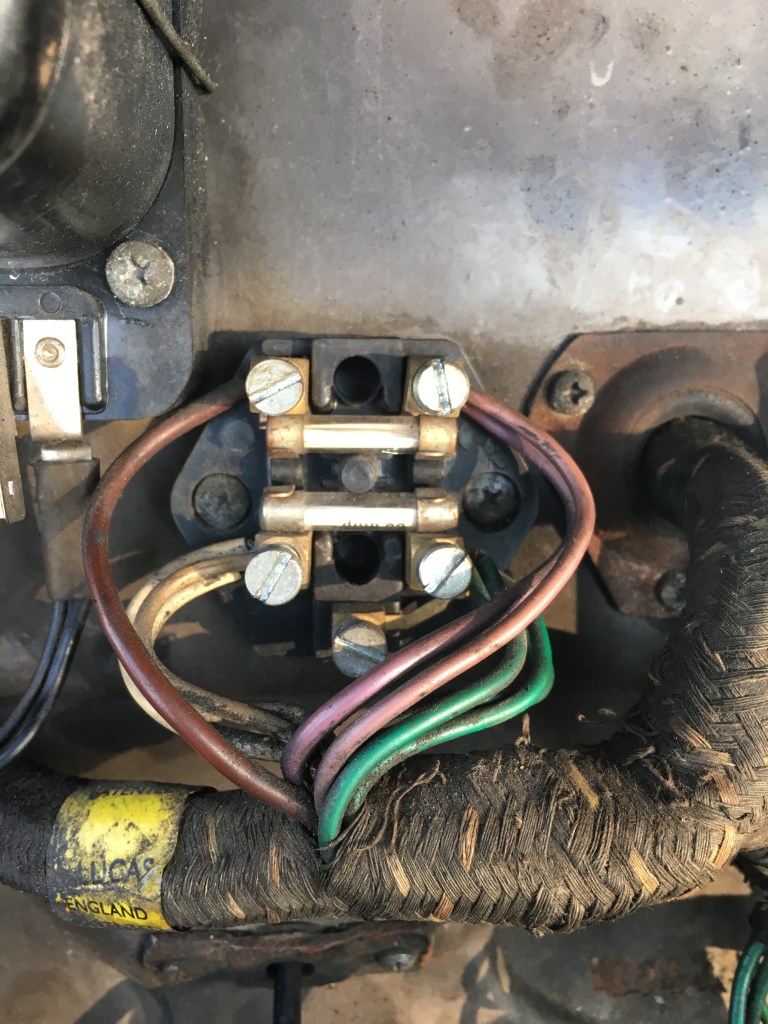
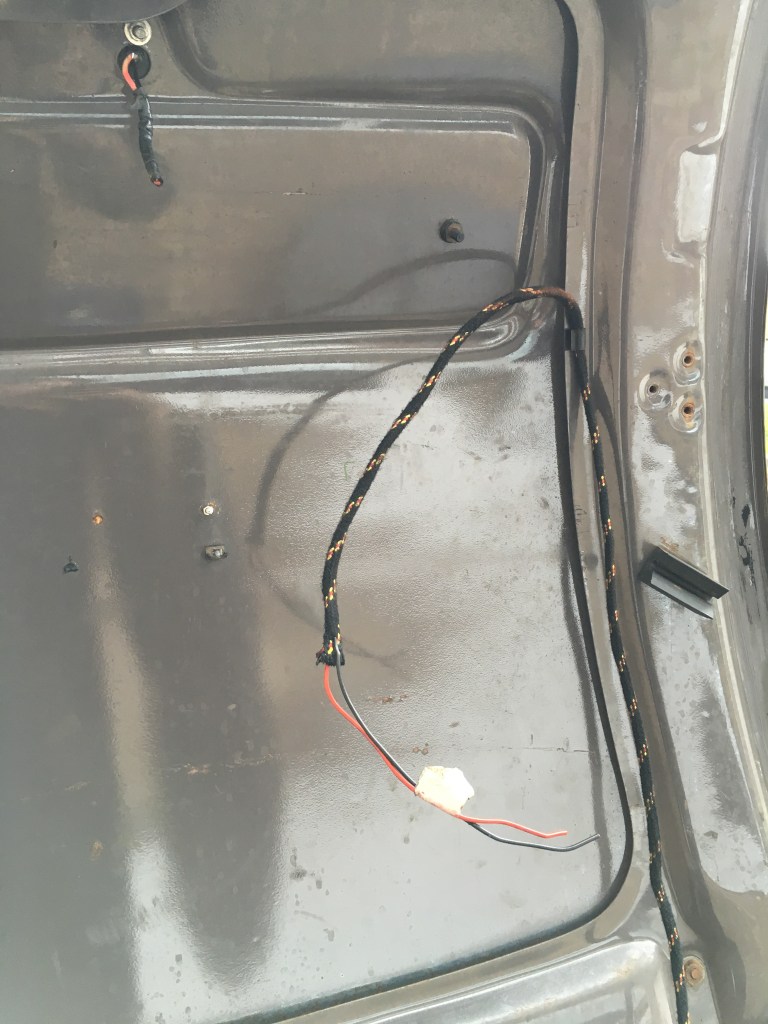
Stripping the loom out was relatively easy, although when it came to threading it all through the bulkhead to remove it, I opted to cut it in two.
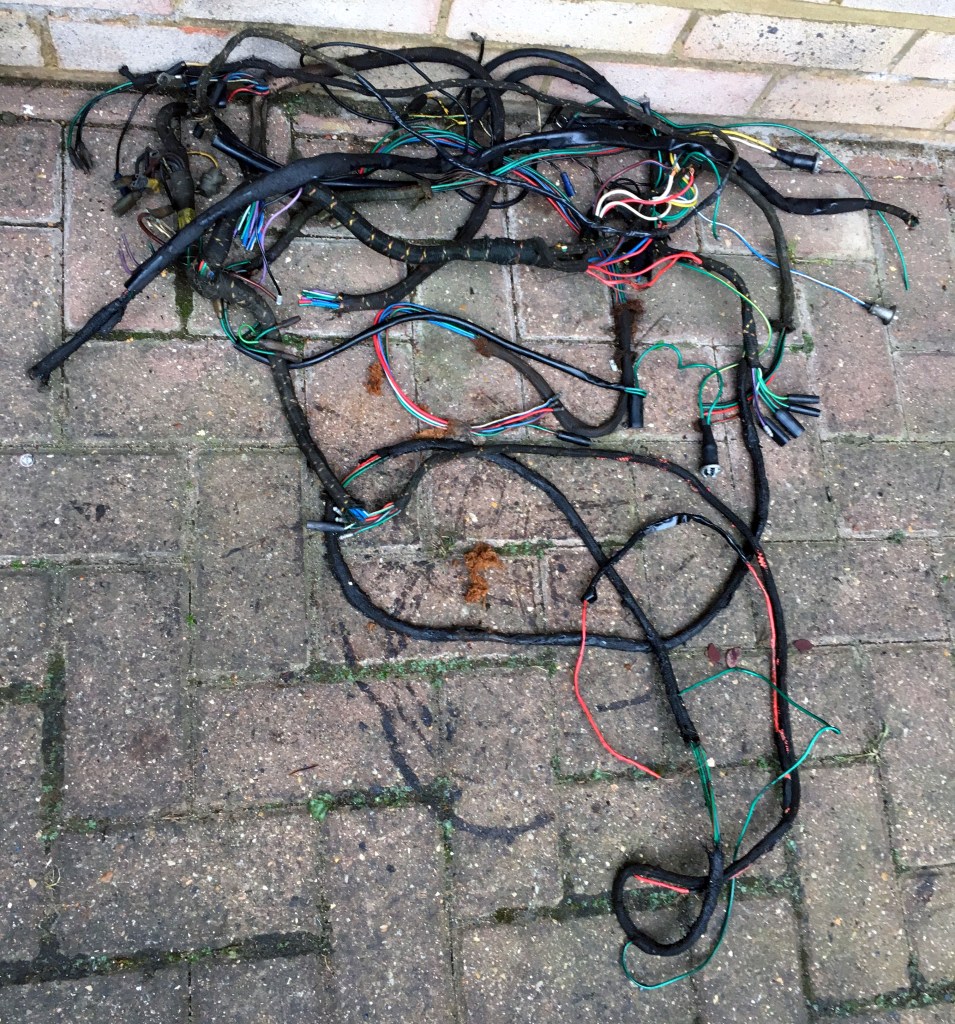
…unfortunately I made the mistake of ordering a new loom used in cars between 1965-1970, when my car was registered in January 1964, which meant that some of the wires were different colours to those in the loom I was replacing, and some of the terminals were different.
It was not immediately clear where everything went, so this turned into a task that took me a few days to figure out.
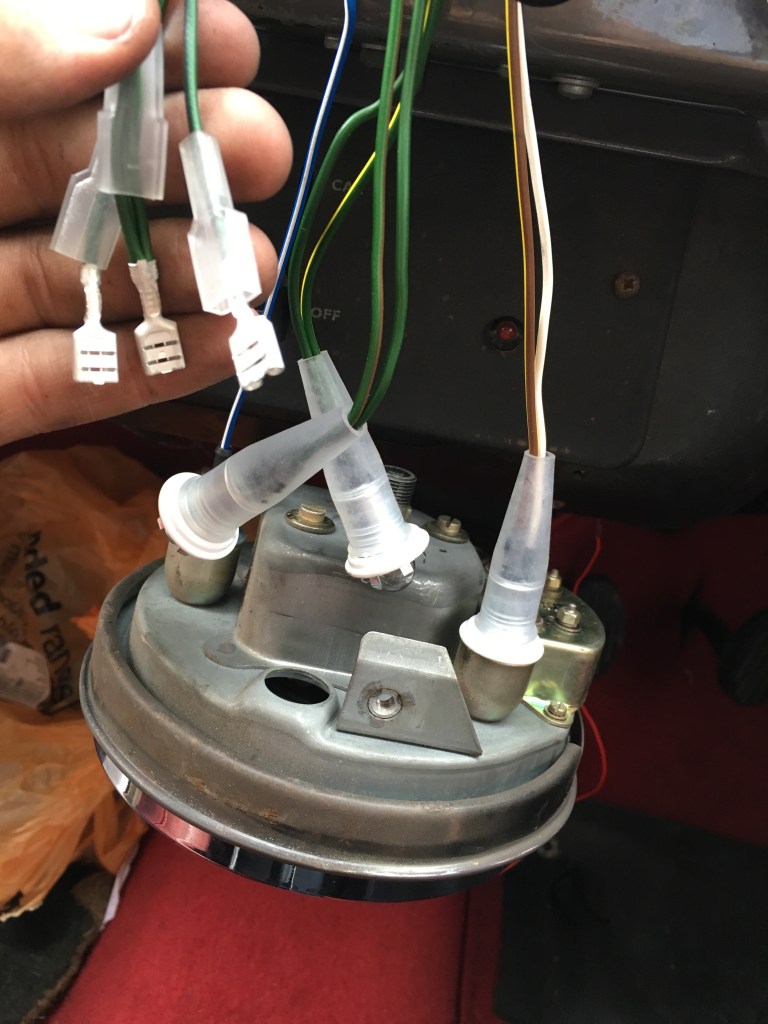
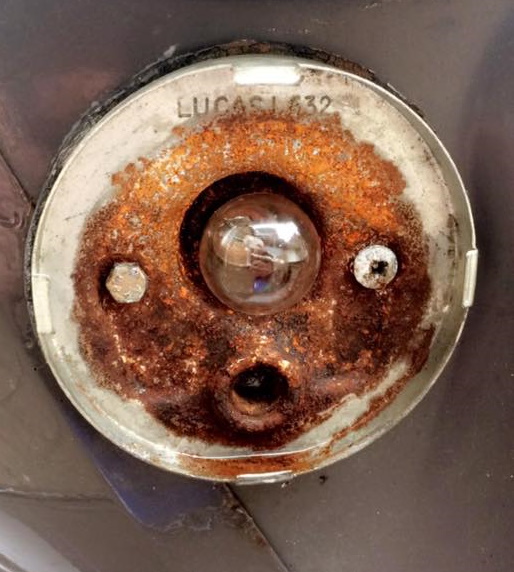
Here I am attaching the lights that illuminate the speedometer face, and the ignition/oil pressure lamps.
Eventually, with the new loom in place I turned the key, and as you might expect from someone who has never worked on cars in any real capacity before… nothing happened. But why?
After a few more days of tinkering, and probably filling-up the Morris Minor Owners Facebook page with various questions about all different connections and wire colours, sourcing several different conflicting Morris Minor wiring diagrams in the process, I resorted to enlisting the assistance of a local auto electrician, who was able to determine that the fault – simply a problem with the ignition unit. I may have damaged this component when I (rather stupidly) started disconnecting various parts of the loom without first disconnecting the battery. Maybe not the smartest move.
As luck would have it, there is a shop not too far from me which had the replacement ignition component that I required, so I was able to rectify this relatively quickly.

And sure as anything, the car started after this. Huzzah!
It was a bit of a task, but it was satisfying to get the car working again after all of this. It might not be the neatest job, but it saved me a few quid and more importantly It was valuable to gain more of an understanding of which wires go where.


You must be logged in to post a comment.